Honeycomb Dress - Pattern Review

I made a thing!  More shockingly, I blogged a thing!  I have been meaning to make this beautiful Cocowawa Crafts Honeycomb dress for months now so having it finally finished is a wonderful feeling.  

Cocowawacrafts Honeycomb Dress Pattern Review by Willow and Stitch

There are so many things to love about this pattern, though the waist ties are particularly special.  I decided to make a sleeveless version for summer, although I know it’s going to work really well layered over long sleeve tees on cooler days.

Cocowawacrafts Honeycomb Dress Pattern Review by Willow and Stitch

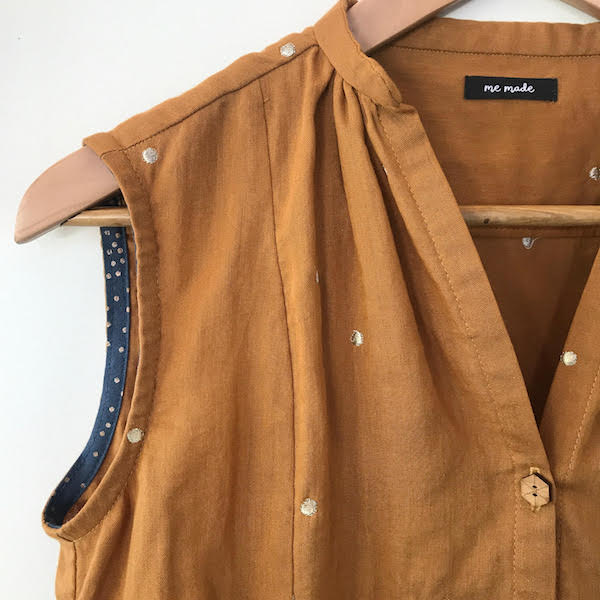
Making it sleeveless also gave me an opportunity to use some gorgeous Japanese cotton bias binding which gives such a lovely finish. I’m a big fan of using ready made bias binding for projects, rather than the main fabric, just because it saves so much on the fabric requirements and means that I usually have enough left over for a skirt or top for my little one too!  Better still is using other small, irregular pieces of leftover fabric to make your own bias binding, although I was too lazy in this instance. Or rather, more accurately, I saw these pretty bias bindings at Fibresmith (my favourite Melbourne fabric and supplies store!) and couldn’t resist buying them!

Honeycomb6.jpgCocowawacrafts Honeycomb Dress Pattern Review by Willow and Stitch
Cocowawacrafts Honeycomb Dress Pattern Review by Willow and Stitch

I sewed a size 3 and the fit was pretty good for me, although I did reduce the size of the armholes after making a muslin.  The main thing that I changed was to swap the collar for an open style. I’m weirdly unable to stand it when my clothes touch my neck so even though I love the look of the honeycomb collar I knew it wasn’t going to work for me and I didn’t want my dress to end up unworn.  So, I took inspiration from Sew Liberated’s Matcha Top and shortened the collar piece, gathering the front bodice to meet it at each side. This adjustment meant that I only needed 3 buttons on my front placket and I also found that I needed to shift the position of the top button (and consequently the others) down a little to give the neckline the open look that I was after.

Cocowawacrafts Honeycomb Dress Pattern Review by Willow and Stitch

I feel like this dress is yet another reminder of how your favourite fabric is SO much nicer when you’re wearing it than when it’s just sitting on your shelf, looking pretty and receiving the occasional pat!

I am utterly obsessed with this Atellier Brunette Stardust Double Gauze.  I’m sure I’ve raved about double gauze before but to my mind it really is the perfect fabric.  Natural fibres, so soft against the skin, drapes beautifully and is a dream to sew with. What more is there?

Cocowawacrafts Honeycomb Dress - Pattern Review by Willow and Stitch

P.s. don’t you just love those ‘me made’ labels? They’re by Kylie and the Machine and she has so many amazing label designs it’s almost impossible to choose!  I bought these on my latest visit to Fibresmith too but they are now happily stocked in lots of stores and also online! yay!

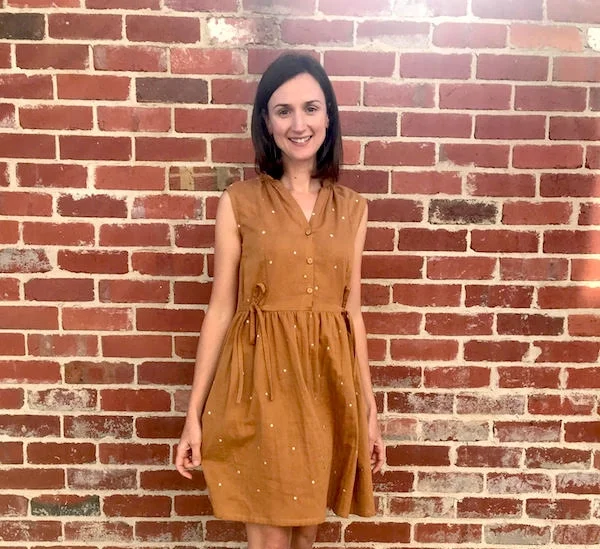
Millie Dress International Blog Tour

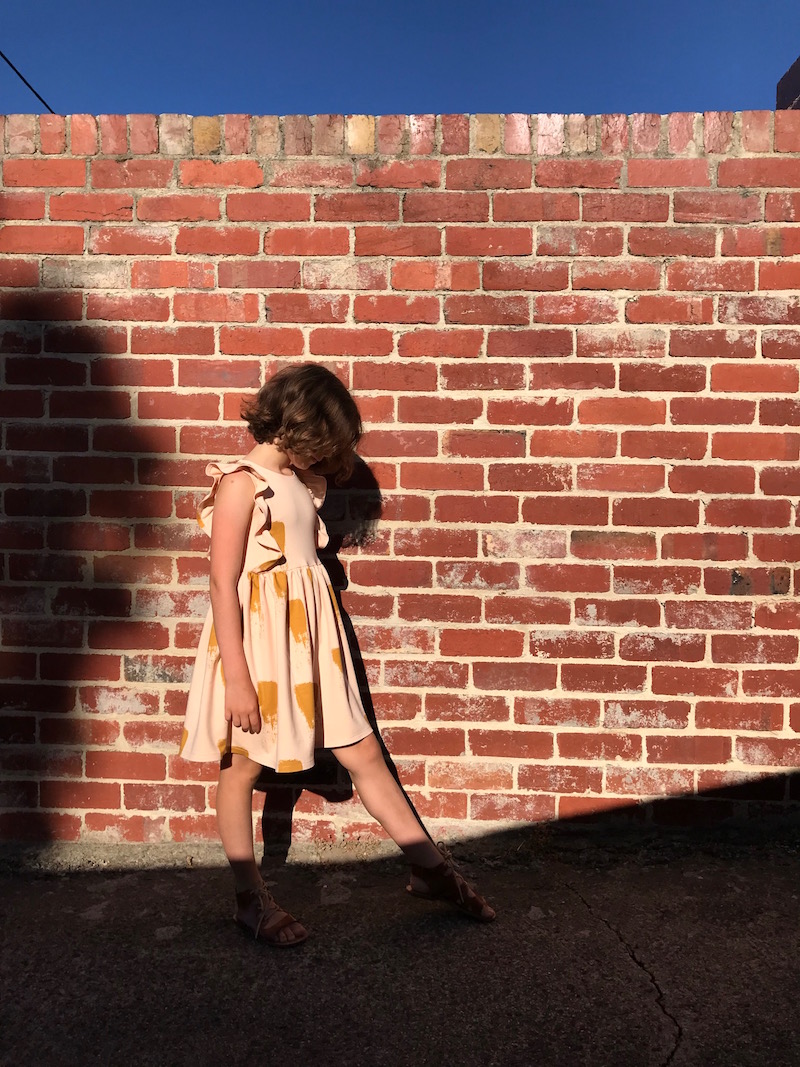
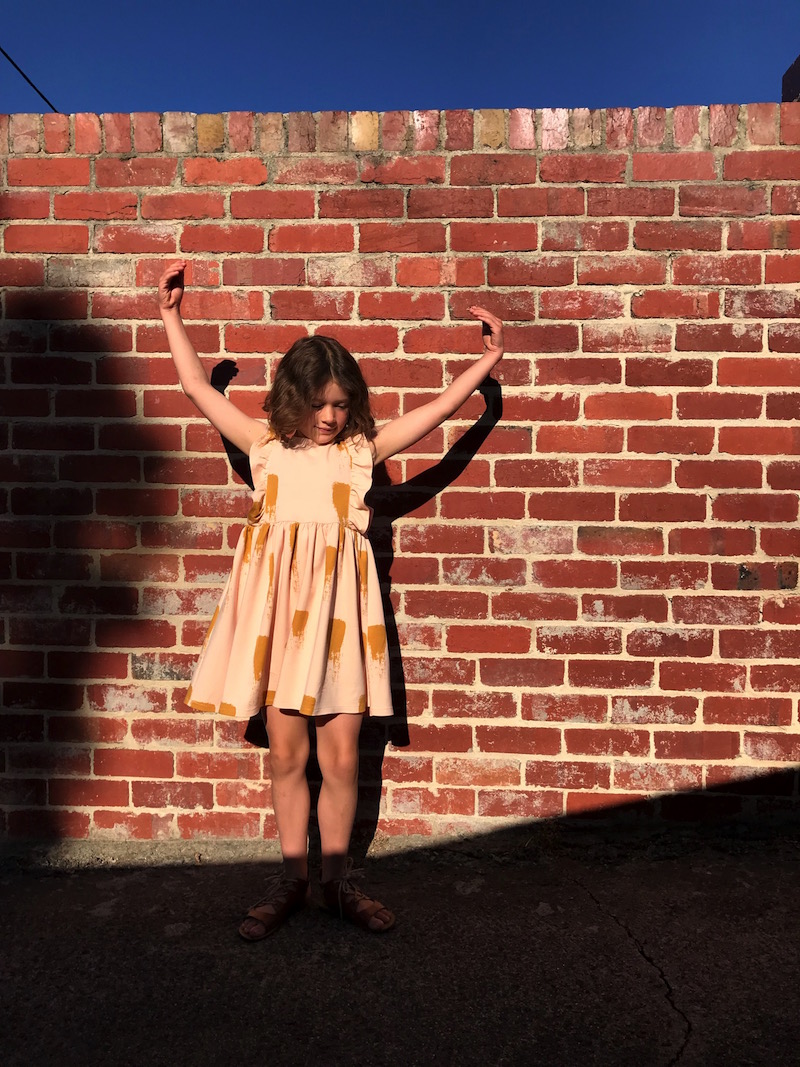
Millie Dress in See You at Six French Terry

I've had my eyes on this beautiful Millie Dress pattern for a while now. I even went and downloaded the original version but my little beanpole of a girl outgrew the size range before I had a chance to make it.  Happily for me the lovely designer, Nicky of Mix it Make it, has updated the pattern and it now comes in sizes 2-12 - Hurrah!  When she asked whether I would like to be part of the international blog tour to celebrate the release of the English version of the pattern I quite naturally jumped at the chance! 

Millie Dress International Blog Tour

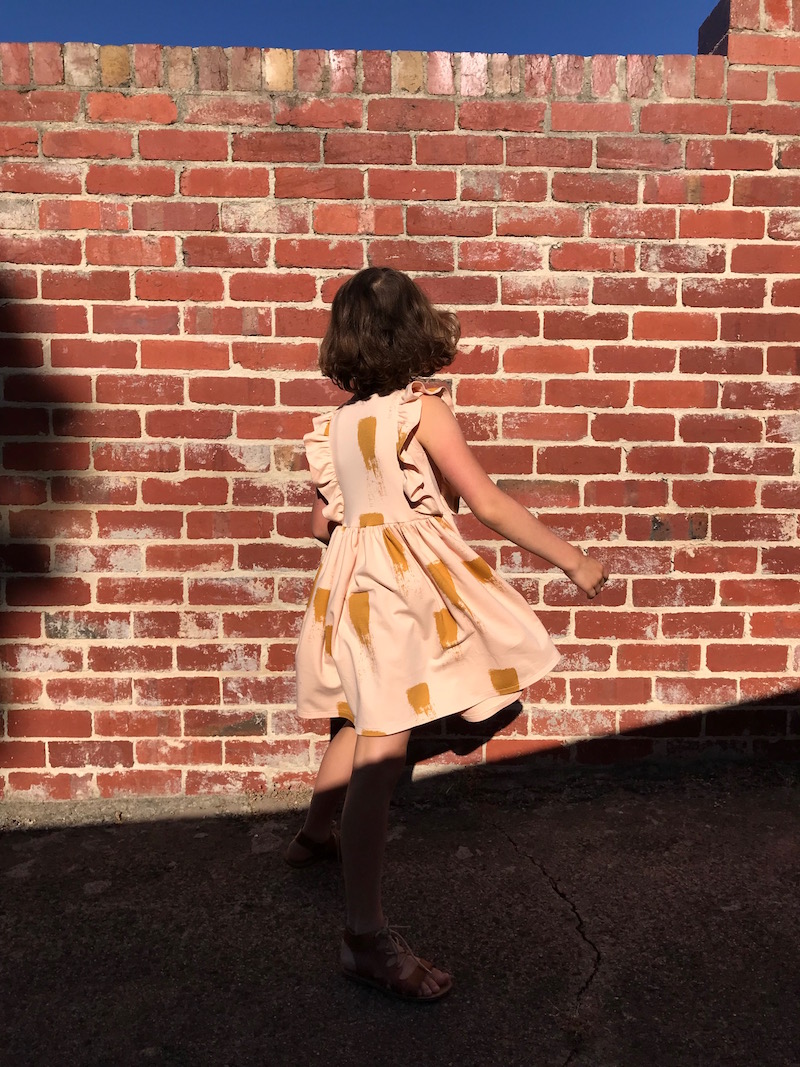
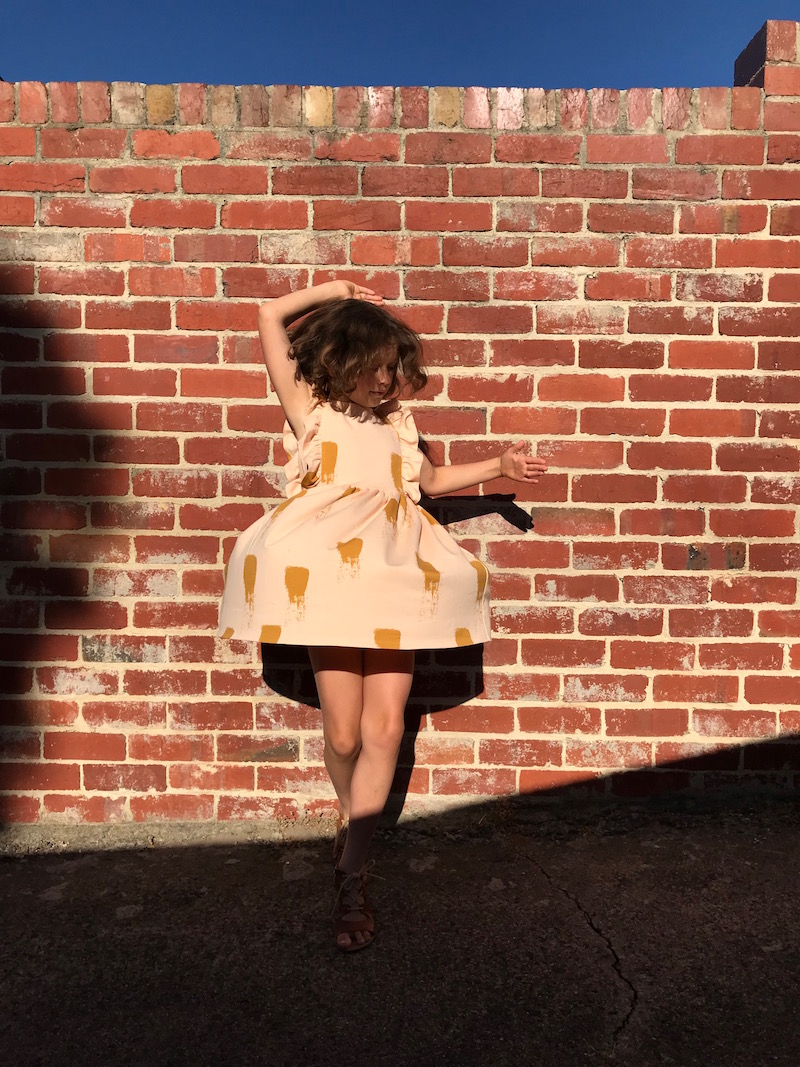
Summer is in full swing down under so I decided to hack my Millie Dress a little to make a sleeveless version.  It was a really simple alteration - I just turned the seam allowance to the wrong side and stitched it down, exactly the same as the neckline.  Super easy.

Millie Dress in See You at Six French Terry

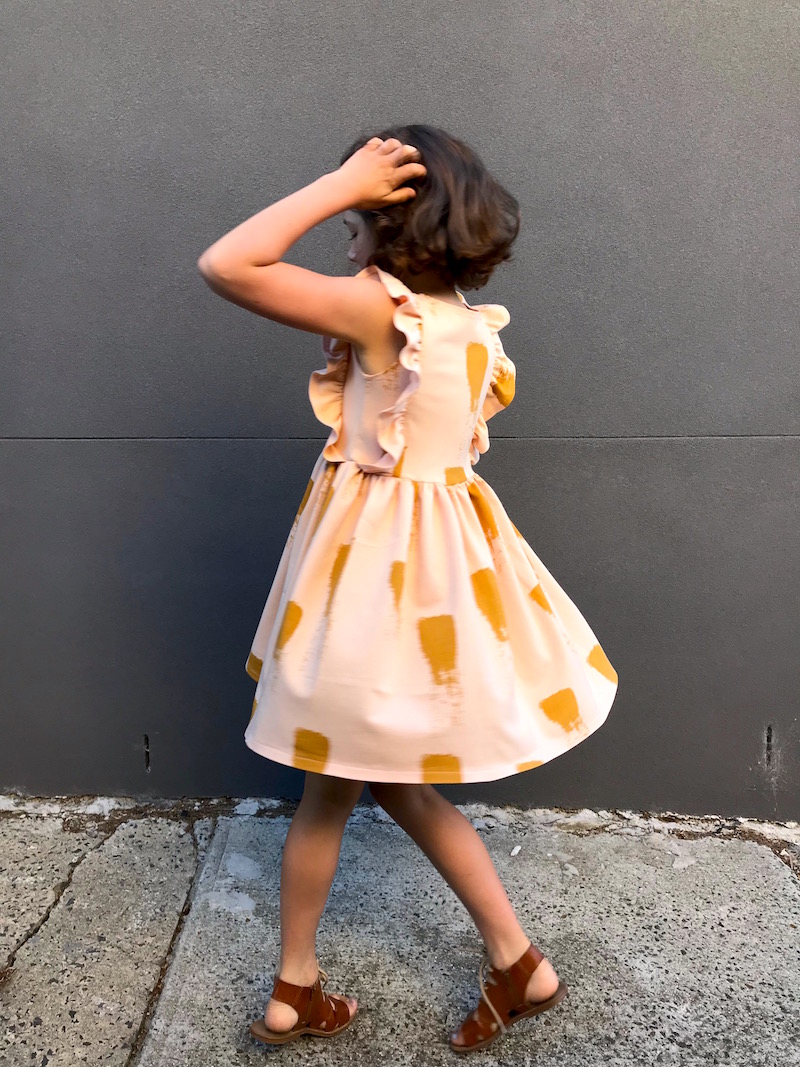
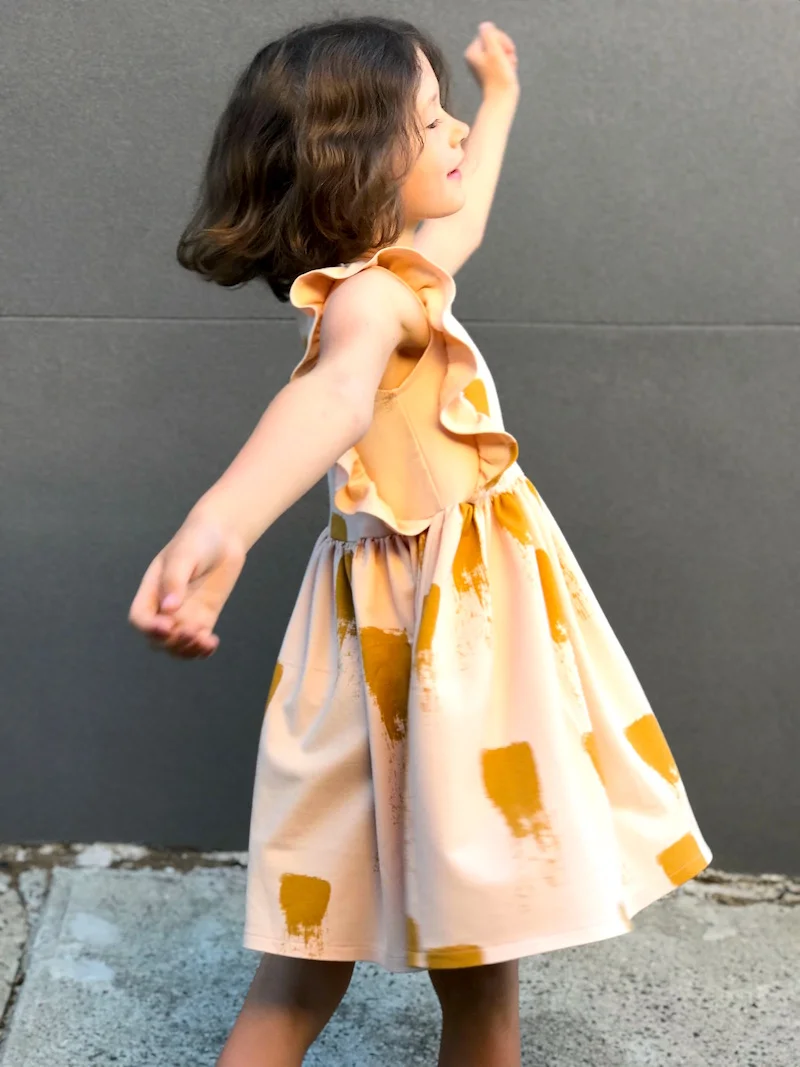
I used a beautiful soft See You at Six French terry which I have recently become completely obsessed with.  I blame MaaiDesign for introducing me to it and enabling my addiction!  It's just so lovely to work with and so heavenly to wear.  Each time I make something from it my kids put the clothes on and say 'Oooooh, yes! I love this one!'  I can't get enough of this beautiful pink with gold paint strokes on it.

Sleeveless Millie Dress in See You at Six French Terry

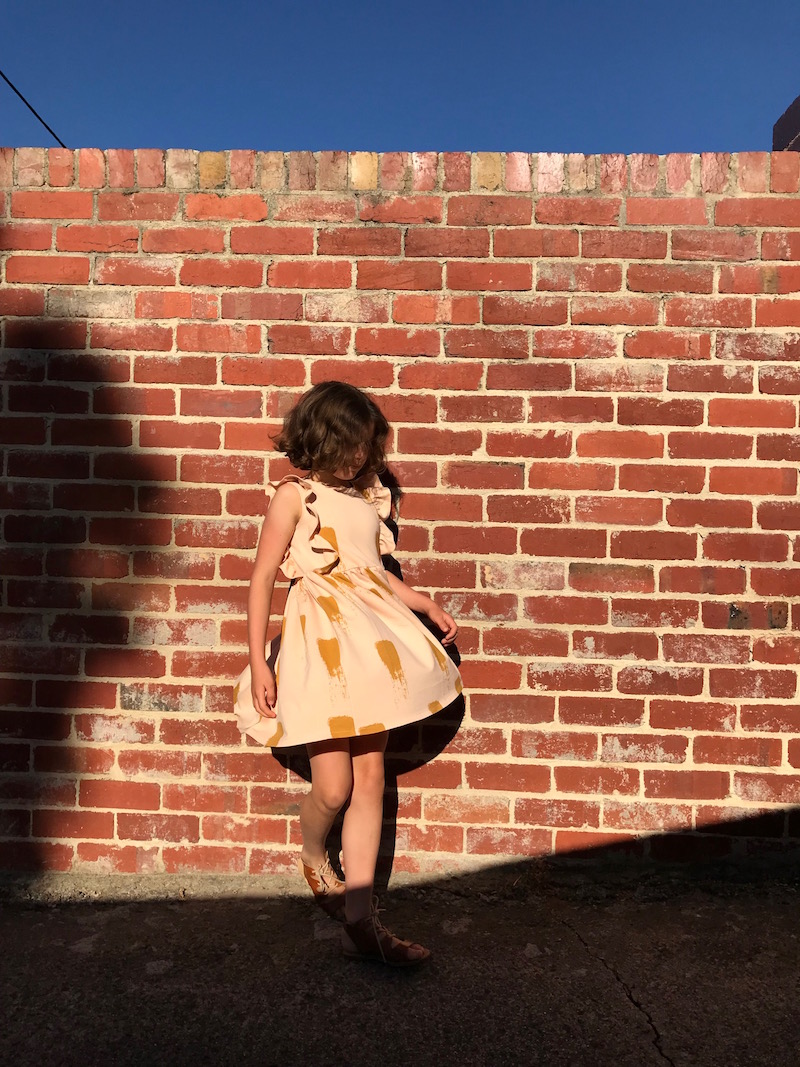
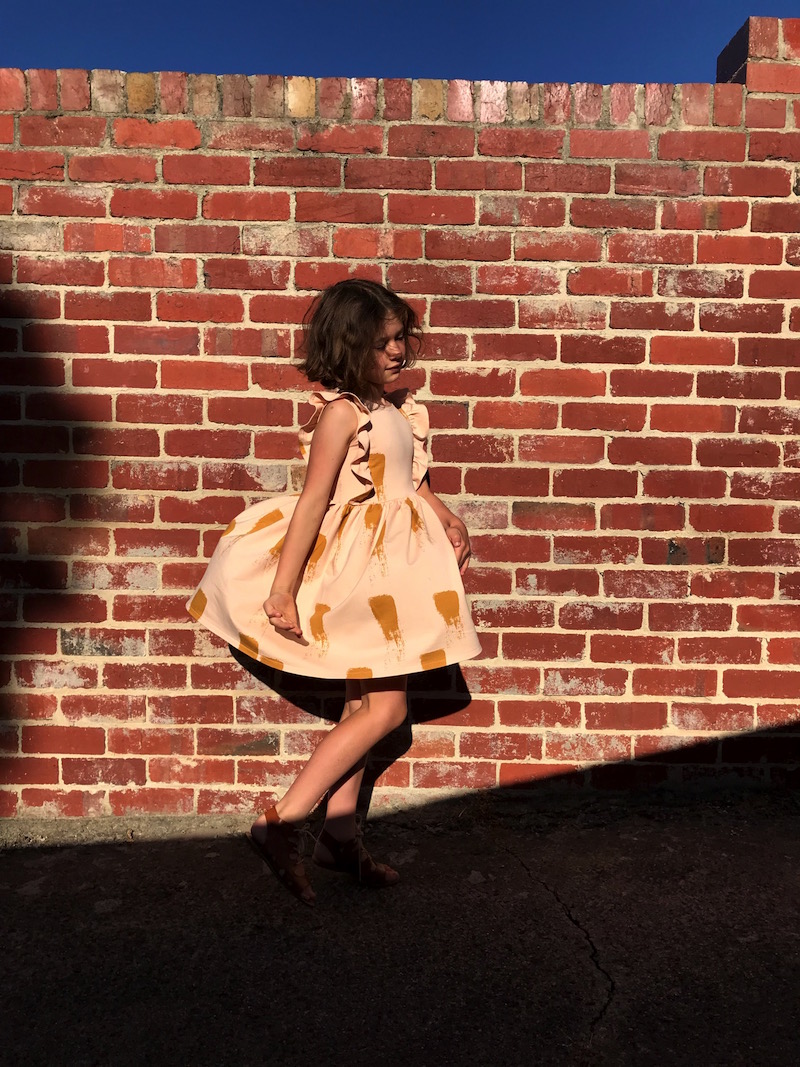
I think this may well be one of Ella's favourite things that I have ever made for her.  Pretty, Twirly, Comfy. What more could a girl want?  

The pattern is beautifully drafted and the instructions are clear and simple.  I made the mistake of getting a little over excited and accidentally cut the front and back bodice along the ruffle insertion lines before joining them at the shoulders.  I spent about 2 minutes kicking myself and then decided to just try sticking them back together with washi tape before sewing and what do you know - it worked a treat!  Washi tape for the win every time!

There will certainly be more Millie Dresses in our future.   I've already got a long sleeved version planned for autumn in this lovely April Rhodes fabric.  Any dress that makes you want to dance and twirl is a winner in my opinion! (Click through the images above to see more dancing and twirling!)

If you'd like to see more Millie Dresses go and take a look at the beautiful creations by the other lovelies on the Millie Dress Blog Tour:

Kneesocks and Goldilocks | Just Add Fabric | Van Jansen

Groovy Baby and Mama | La Folie Sewing Booth | My Petite Sophie

Vogue Deep V Kimono Dress - V9253

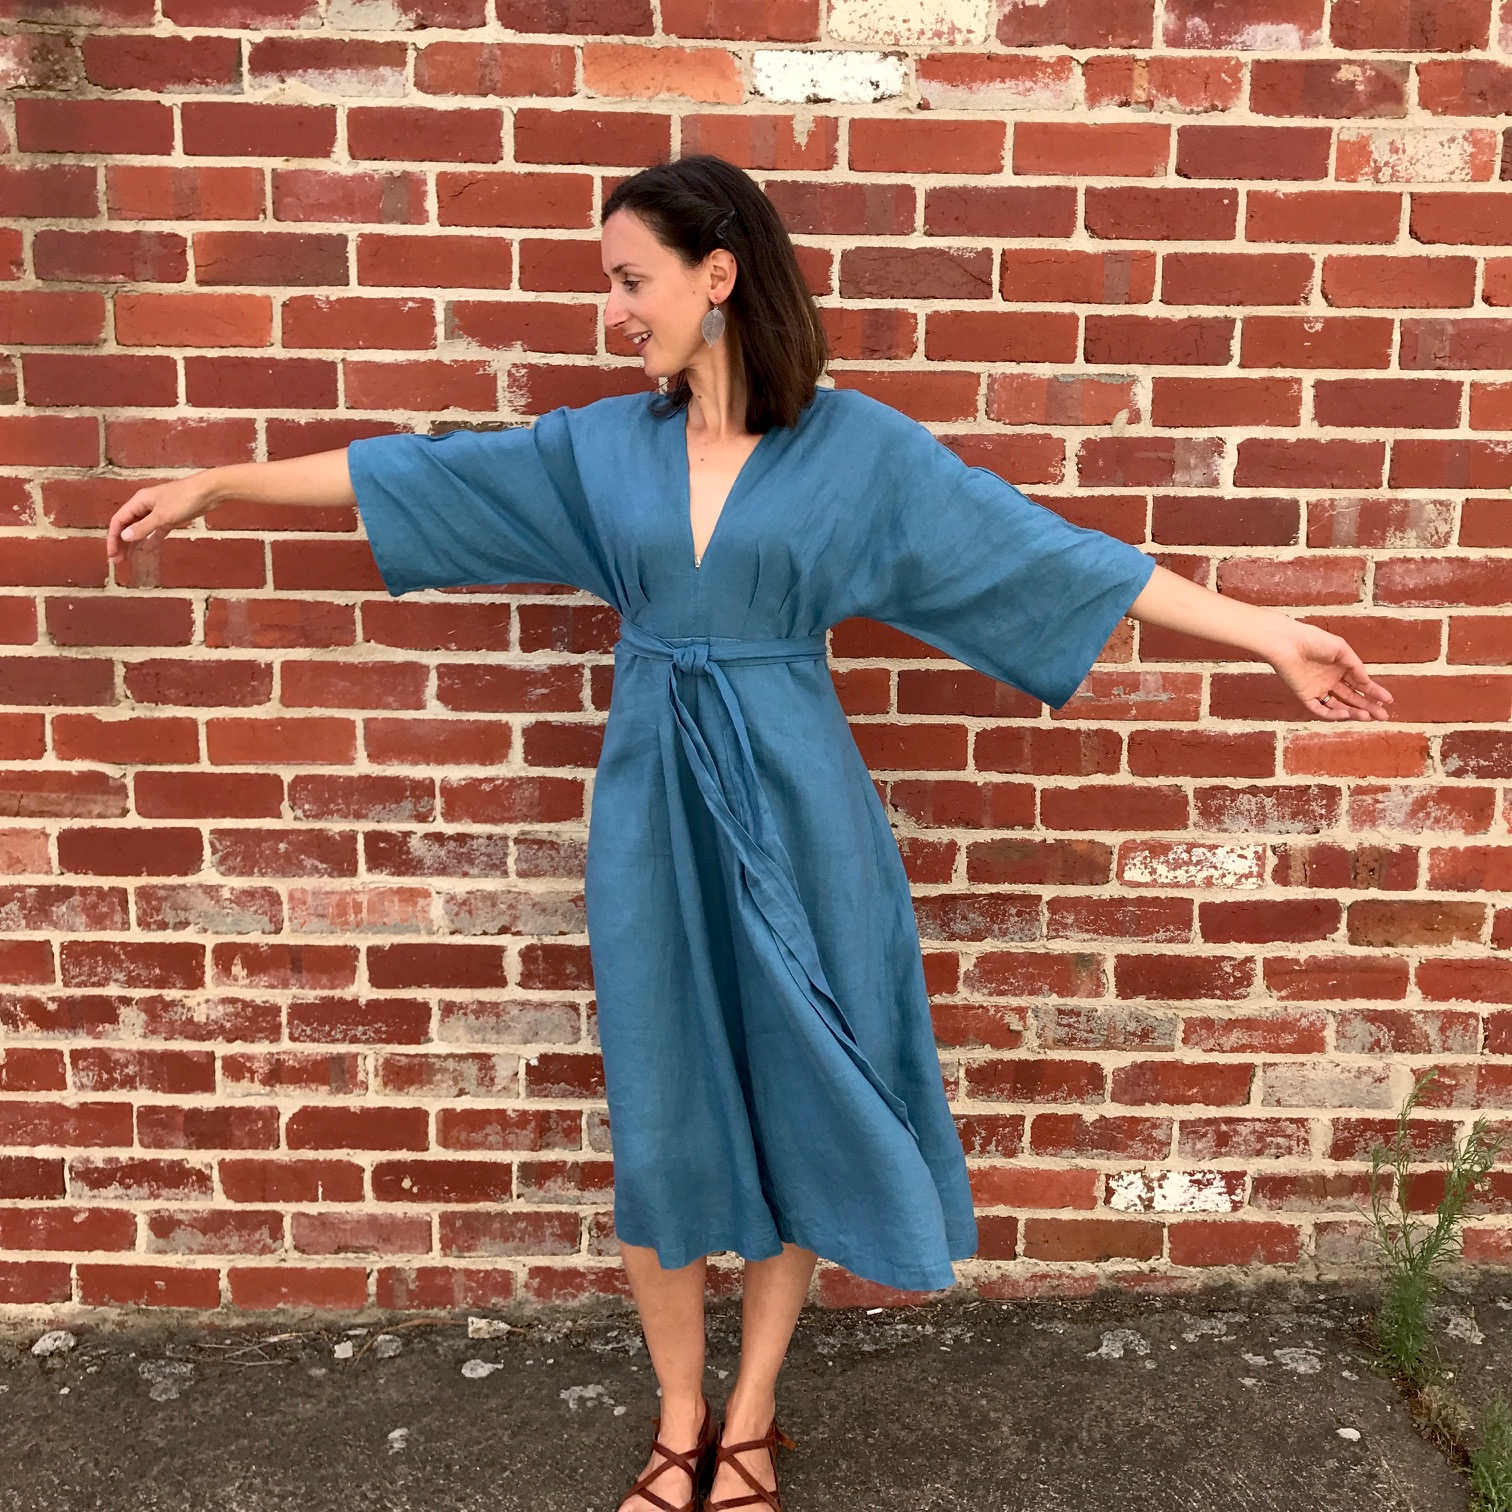
V9253 Vogue Deep V Kimono Dress in Teal Milled Linen

It has taken me so long to get around to photographing and blogging this dress that I can hardly remember any of the making details by now.  So, consider this fair warning if you’re hoping to be informed; this blog post is most likely going to be a combination of pretty pictures and pointless ramblings!

V9253 Vogue Deep V Kimono Sleeve

I made this dress for Melbourne Frocktails after seeing lots of gorgeous versions of it crop up in my instagram feed and becoming completely obsessed with it!

V9253 Vogue Deep V Kimono Dress

I wasn’t brave enough to go for the full deep V, so I just sewed it up to a point where I felt comfortable. I probably should have sewn an extra centimetre or so to stop that pesky bra peeping out, or perhaps I’ll just take it as a sign that I need to spend some time this year learning how to make pretty bras that are worthy of peeping at!

V9253 Vogue Deep V Kimono Dress front pleats

The fabric is a beautiful teal milled linen from The Fabric Store (this shade is called Blue Lagoon), I've already used this fabric for several other projects, and I love the look and feel of it and how easy it is to work with (I’m soon going to have a wardrobe full of this linen in every shade!)

I had a major freak out halfway through making where I became convinced that I didn’t actually like it at all. Fortunately all those fears disappeared when I put it on - I LOVE this dress. It’s so simple yet elegant and I’ve worn it a handful of times already.   

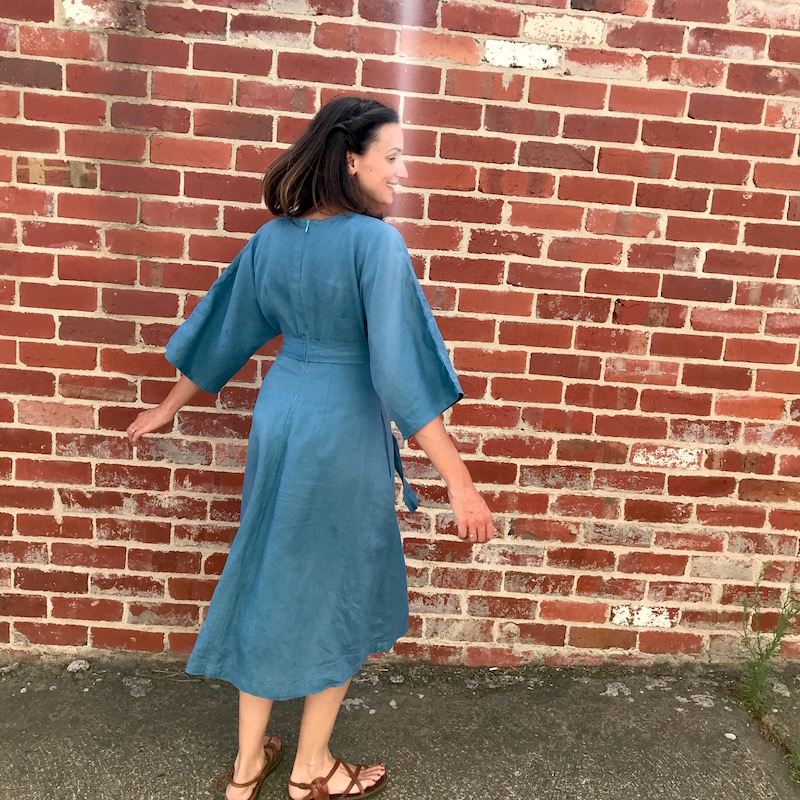
V9253 Vogue Deep V Kimono Dress back zipper

It was actually my first time sewing a vogue pattern - I mostly use indie designer patterns and it really highlighted for me the differences between them and ‘Big 4’ patterns. Firstly it was really expensive ($25!) and also quite hard to find - I had to DRIVE around to SHOPS (say what?!) - no simple internet download for this one.  

I also found the instructions very different, much less detailed and there were no helpful video tutorials or explanations of techniques.  While it wasn't hard to work out what to do, I did spend a lot of time hoping that I was doing it correctly, and not feeling very confident.  It’s made me realise just what a wonderful thing indie designers have done for sewing. I am essentially self taught in my sewing and all of it has come from buying sewing patterns which teach me new techniques, they don’t require you to know those techniques, they teach them! How great is that?! Thank you to all you wonderful designers out there, without you I probably would have given up on sewing before I’d ever even really started to learn!

V9253 Vogue Deep V Kimono Dress front pleats side view

One of the reasons that it's taken me so long to get around to blogging this dress is that I find taking photos really difficult.  I just feel so self-conscious and awkward in front of the camera and it shows in the photos which look awful and that in turn feeds back into a terrible loop of looking and feeling bad about myself! 

One of my resolutions for this year is to learn to feel more comfortable in front of the camera.  One of best ways seems to be to just have a little fun with it and get a bit silly.  I'm going to leave you with this gem because it just cracks me up so bad! Enjoy!

IMG_7182.JPG

It's Giveaway Day!

Sew mama Sew giveaway day
Sew Mama Sew giveaway day
sew mama sew giveaway day

Rooooaaar!  I'm so excited!  It's Sew Mama Sew's annual Giveaway day!  I love Giveaway day and This time I have 2 prizes up for grabs.  Winners can take their pick from any of my PDF felt mask sewing patterns.  They are perfect stocking fillers and make a wonderfully quick and easy last minute handmade birthday prezzie (I should know - pretty much all of the kids in my daughter's class got these for their birthdays this year...!)

Enter using the Rafflecopter below.  Entries close at midnight Sunday American Eastern time. Winners will be notified via email.  

Follow @willow_and_stitch on Instagram HERE:

Great! Good luck!  

If you don't win, want to peruse all my sewing patterns or simply can't wait then you can head over to my Etsy shop to take a look.

Now head back to Sew Mama Sew to enter more wonderful competitions!

Reindeer Mask Tutorial - Bonus Pattern Piece

Reindeer Mask Tutorial

Can you believe we’re halfway through November, moreover, that it’s only 5 weeks until the Silly Season starts?!  I can’t, but that’s mostly because I live in topsy turvy land these days.  I’ve been in Australia for 12 years now but I still can’t get used to Christmas and Spring occurring at the same time.  I really need those environmental clues of the Northern Hemisphere, the autumn leaves falling, the nights drawing in, the chill in the air, to get me into the christmas spirit.  I pine for snow and log fires, sledding and hot chocolate, mittens and hot water bottles.

That’s not to say that I don’t enjoy a hot christmas.  It’s a lovely holiday here, full of light and the joys of early summer.  Little girls in white dresses, cherries and stone fruit, seafood and cocktails, bright sunshine and cool breezes.  We throw open all the doors and lounge around in the garden, enjoying balmy evenings under twinkling fairy lights.

Nonetheless, I do find that it requires more of a conscious effort on my part to make December feel festive, and because I am determined that my children should find it as magical as I remember the holidays from my childhood being I tend to overcompensate by going all out with the decorations, music, christmas craft activities, and, of course, handmade gifts.

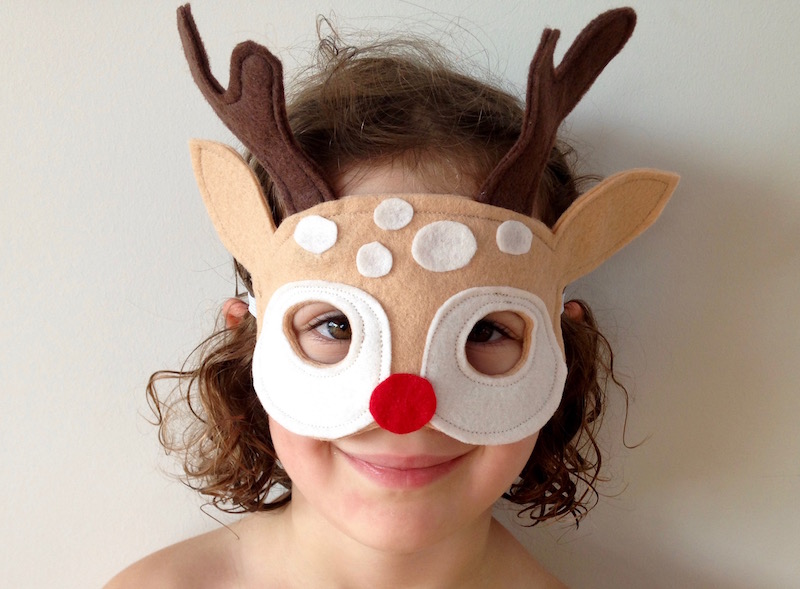
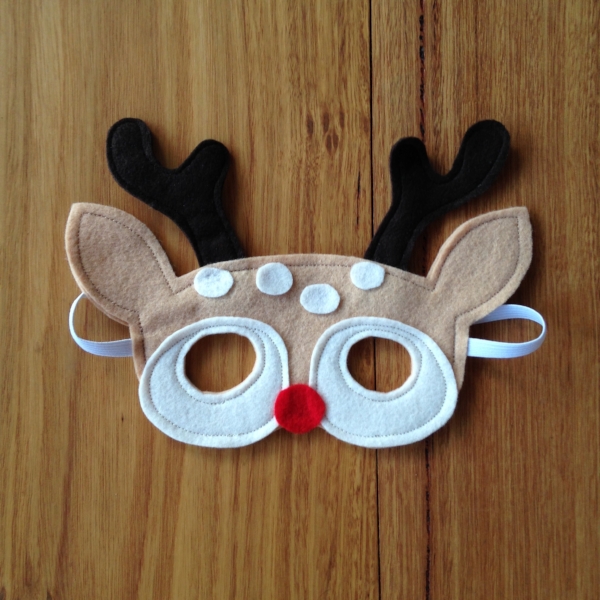
One of my favourite Christmassy things to make are these little Reindeer masks. I’m heading to Swagger Child Design Market this Sunday so I have been busy stocking up on them, and today I’m offering you a free pattern piece so that you can make them too.  The cute little fawn in my Woodland Creatures Sewing Pattern can be transformed into a festive Reindeer with the addition of these antlers.  Download the pattern extension piece here and scroll down for the tutorial.  If you don’t have a copy of the Woodland Creatures PDF and would like one then you can purchase it here.

Tutorial:

1. Download the bonus pattern pieces and print out.  Make sure that you set your print settings to 100% or select ‘no scaling’.  Measure the 1” square on the page to check that it has printed correctly.

2. Cut out the pattern pieces and pin them to a double layer of felt.  Cut around each piece and then sew the two layers together, sewing 5mm (¼”) from the edge.

Reindeer Mask

TIP:  For a neater finish and an easier time sewing, draw around your pattern pieces while they are pinned to the felt.  You will need a white marker or chalk pen to do this on the dark brown felt.  DO NOT cut the felt out.

Instead sew 5mm (1/4”) inside your drawn line and then cut along the white line once you have sewn the two layers together.

Doing it this way stops the felt from shifting as you sew which can be a particular problem when sewing around curves.

Reindeer Mask Tutorial

3. Sew your fawn mask following instructions on the PDF pattern.  When you come to sew the 2 layers of the face together, sandwich each antler between the 2 face layers, positioning each approximately 1cm (½”) from the ear, and letting the base of the antler extend at least 1.5cm / ¾” into the mask.  Pin in place before sewing around the face.

Reindeer Mask

As you can see I use the same technique for sewing all of my masks i.e. I sew before cutting wherever possible - It's quicker and gives a much nicer finish!

Well, that's it.  You're done!

Happy Holidays.

Reindeer Mask

Wild Things - A New Safari Mask Sewing Pattern

Wild Things - Safari Felt Animal Mask PDF Sewing Pattern from Willow & Stitch

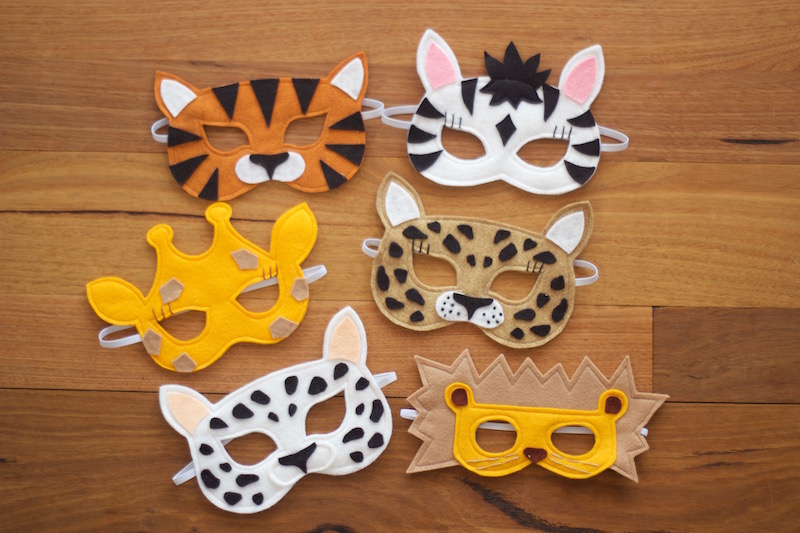
Are you ready for the kids to go totally wild?  Want to take a safari without ever leaving home?  Watch your backyard become the African savannah or turn the living room into a water hole with these lovely dress up masks.

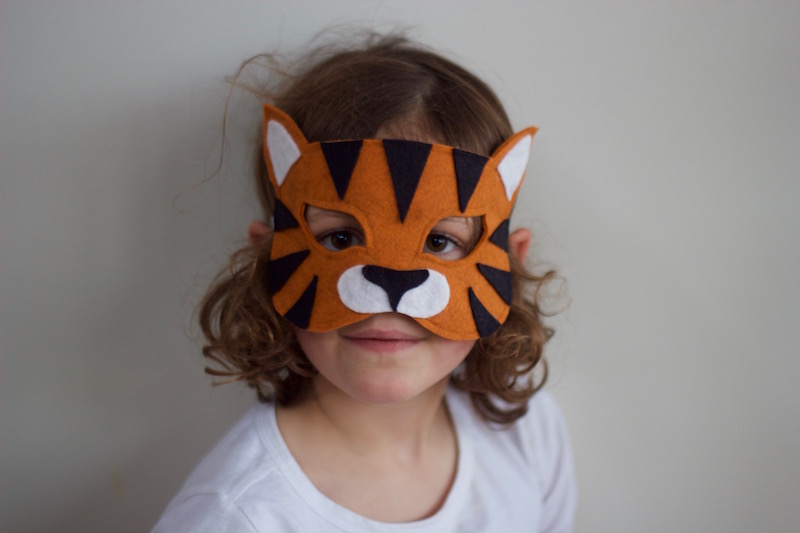
This Wild Things Mask Sewing Pattern features patterns for Lion, Tiger, Giraffe, Zebra and Leopard masks.  You can even make the Leopard into a Snow Leopard for a mountain adventure. 

Wild Things - Leopard Felt Animal Mask PDF Sewing Pattern from Willow & Stitch

I'm so pleased with this pattern.  I think the designs are my favourites so far and I've put a lot of extra effort into the pattern and tutorials.  I've come up with a better (and easier) way of sewing the eye holes, and added whole sections explaining each technique used to make the masks.  There's information on how to resize them to fit dolls (or newborns), printing guides and notes on materials to use.

Wild Things - Snow Leopard Felt Animal Mask PDF Sewing Pattern from Willow & Stitch
Wild Things - Tiger Felt Animal Mask PDF Sewing Pattern from Willow & Stitch

The patterns are just as easy to follow as ever and are perfect for beginners.  They're quick to sew and make a perfect gift or stocking filler.  I think that practically all of the children Ella's class have gotten a couple of these masks for their birthday this year!  I had a particularly amusing / gratifying experience this last weekend when I took Ella to a 'Superheroes' party for one of her school friends (you can see pictures of her freezer paper stencilled Wonder Woman costume here) - I looked around the room and realised that about half of the kids were wearing masks that I had sewn and Ella had chosen to give to them for their birthday's.  It made me giggle and warmed my heart!

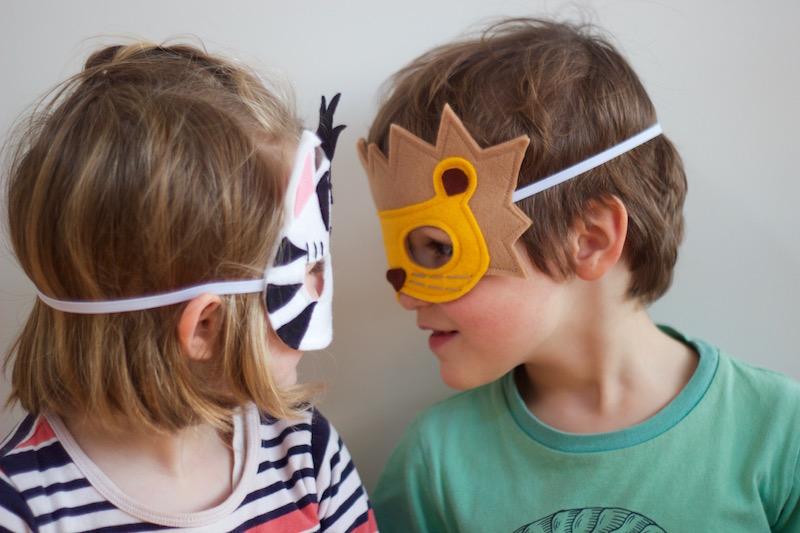
Wild Things - Lion and Zebra Felt Animal Mask PDF Sewing Pattern from Willow & Stitch

Anyway, back to these little wild things; we had so much fun shooting these pictures.  I can tell that these masks are going to get a lot of play time.  The leopard and snow leopard were particular favourites with my little testers. Anything that ROARs was a big hit too of course!  (Any excuse to make a lot of noise really!)

Roooooaaaar!

Roooooaaaar!

Wild Things - Giraffe Felt Animal Mask PDF Sewing Pattern from Willow & Stitch

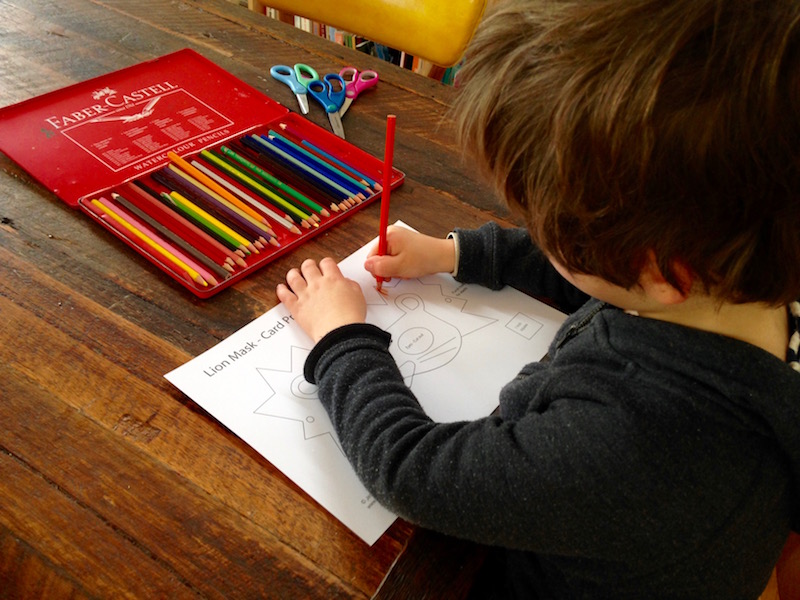
As with all of my other PDF Mask Sewing Patterns this one contains bonus printables of all of the masks.  You can print these at home onto card then let the kids colour, paint or decorate them however they like.  Whey they're finished you simply cut them out and thread them with elastic.  It's one of our favourite rainy day activities and is also great as a birthday party craft activity.

Colour...

Colour...

Cut...

Cut...

Play!

Play!

To celebrate the pattern release, I'm offering free copies of not only this pattern but the ENTIRE collection of Willow & Stitch mask patterns to two lucky readers.  One here and one over on Instagram.  You are welcome to enter both giveaways as many times as you like.  Good luck!

An Eco Friendly Fabric Lunch Bag Tutorial (and Happy New Year!)

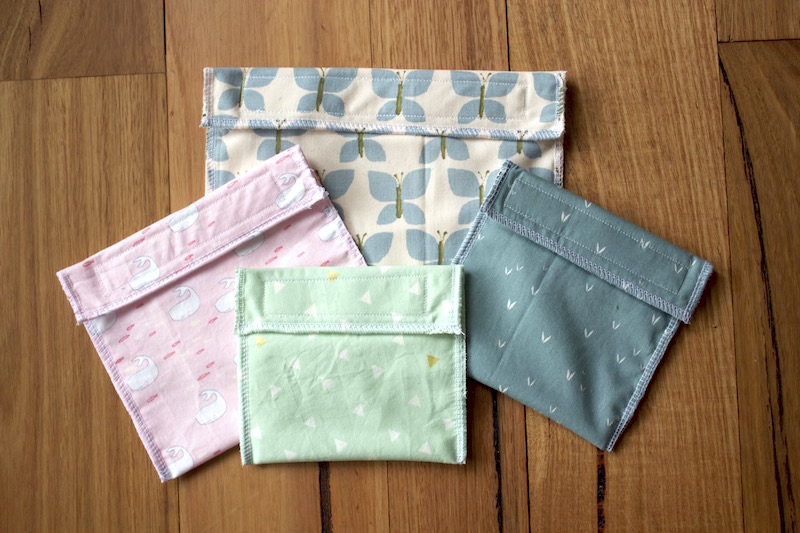
Eco Friendly Reusable Fabric Lunch / Snack bags | Free Tutorial from Willow & Stitch

Happy New Year!  It's been such a long time since I wrote anything here that it feels like I may have forgotten how!  I rather wore myself out at the end of last year sewing (what felt like) 1000's of dress up masks for Christmas markets. So; I've been taking a well earned break to relax and enjoy the summer, enjoy a visit from my Mum and get myself physically and emotionally prepared for my big girl starting school this week!  I can hardly believe she's starting school and I definitely can't believe the amount of things there are to do to get ready for it! There's uniform shopping, shoe shopping, choosing a bag, choosing a lunch box, labelling clothes, filling in forms, gathering paperwork, attending orientations, information evenings, play dates, etc etc etc... It's overwhelming and we haven't even started school yet!

Eco Friendly Reusable Fabric Lunch / Snack bags | Free Tutorial from Willow and Stitch

Since my world is so fully consumed with this 'starting school' business at the moment, it will probably come as no surprise that my first blog post and first tutorial of this year is a school related one.  I've been sewing up a big pile of these reusable fabric lunch bags to pop into Ella's lunchbox.  I thought they'd work really well for carrot and cucumber sticks. cheese and crackers. biscuits, grapes, apple slices etc.   I even made a couple of larger ones which will fit a sandwich so that I don't need to wrap it in cling film!

Eco Friendly Reusable Fabric Lunch / Snack bags | Free Tutorial from Willow and Stitch

Ella was really thrilled with her new snack bags - particularly the one with the Narwhale fabric - I think it would be fair to say that the thing she's looking forward to most about school is her lunch box (just like her mama that one - always thinking about what's to eat!)

These lunch bags are super quick and easy to sew and are perfect for using up small pieces of your favourite fabrics.  I lined them with some PUL which I had left over from my (failed) attempt to sew Modern Cloth Nappies - I'm glad it finally came in handy for something!  

Eco-Friendly Reusable Fabric Lunch bags - a free tutorial from Willow & Stitch

You will need: (for a medium sides snack bag)

18 x 37 cm (7 x 14.5") Cotton fabric

18 x 37 cm (7 x 14.5") Polyurethane Laminate (PUL) or similar waterproof fabric

12 cm (5") velcro

A Serger / Overlocker


How to make:

Decide on the size that you want your finished lunch bag to be.  Mine is going to be 16 x 16 cm. Calculate the sizes of the rectangles that you need for you bag:

The width of your fabric will need to be Width + 2cm,

The length will be (Length x 2) + 5cm. 

i.e for a 16 x 16 lunch bag:  Width = 16 + 2 = 18cm,  Length = (16 x 2) + 5 = 37cm

Cut one piece each of your cotton and your PUL and lay them on top of one another with the wrong side of the cotton and the right (non shiny) side of the PUL together.

Eco Friendly Reusable Fabric Lunch / Snack bags | Free Tutorial from Willow and Stitch

Serge along each of the short ends, sewing with a 1 cm seam allowance.

Eco Friendly Reusable Fabric Lunch / Snack bags | Free Tutorial from Willow and Stitch

Cut a piece of velcro which is 2 cm shorter than the finished width of the bag. Centre the loop (soft) side of the velcro 1 cm from the top (front) of the fabric, on the cotton side.  Sew right around the velcro twice for strength.

Centre the hook (rough) side of the velcro 1 cm from the bottom of your fabric, on the PUL side.  This will be folded up over the top to form the closure / flap.  Sew right around the edge of the velcro twice, remembering that this stitching will be visible from the front so use a coordinating thread and try to sew as neatly as you can!

Eco Friendly Reusable Fabric Lunch / Snack bags | Free Tutorial from Willow and Stitch

Fold the fabric so that the PUL is on the inside, and the front of the bag sits just under the velcro on the lining, like this:

Eco Friendly Reusable Fabric Lunch / Snack bags | Free Tutorial from Willow and Stitch

Serge along both side seams, beginning at the folded edge and continuing to the edge of the fold over flap.  Leave long tails on your cotton so that you can thread it into the seams to secure the ends like so:

Eco Friendly Reusable Fabric Lunch / Snack bags | Free Tutorial from Willow and Stitch

Hopefully your bags will be a little straighter than mine.  I guess that's what happens when you mix wine and sewing....!

Eco Friendly Reusable Fabric Lunch / Snack bags | Free Tutorial from Willow and Stitch
IMG_0994.jpg

Trim the loose threads and you're all done! 

You can make these in any size at all, make them tiny for a cute little snack of sultanas or make them huge as a wet bag for swimming things.  I always put one in my son's playschool bag to seal away soggy undies if he has an accident, or wet clothes after waterplay.  Use them instead of plastic bags to contain wet or dirty nappies which can then be disposed of when you get home.  

Eco Friendly Reusable Fabric Lunch / Snack bags | Free Tutorial from Willow and Stitch

I hope you found this tutorial useful.  What would you use your bags for?

You May Also Like..

Zanzibar Shores Tank Top Dress | Momma Quail Pattern Tour

Momma Quail Pattern Tour | Zanzibar Shores Tank Top Dress by Willow & Stitch

I'm really happy to be kicking off the Momma Quail Pattern Tour with this cute little dress version of the Zanzibar Shores Tank Top.  It promises to be a fun week with so many other wonderful bloggers sewing up their versions of Momma Quail's great patterns.  

I really enjoyed making this dress, it's a great design and a perfect introduction to sewing with knits for anyone who is nervous about getting started. The pattern uses a mix of knit and woven fabric which means that the woven fabric stabilises the knit and makes it easier to work with.  The pattern was fantastic, everything worked really well and the instructions were really easy to follow.

There are several ways to vary the pattern, I used the hood and the swing sides options and lengthened the body to make it into a dress instead of a top.  I was really pleased with how it turned out and so was my little model, she wouldn't take it off!  Which is rare for her because usually her favourite outfit is her birthday suit!  It's apparently very comfy and great for doing cartwheels and somersaults in too...

Momma Quail Pattern Tour | Zanzibar Shores Tank Top Dress by Willow & Stitch

I used a great blue and yellow flowered knit that I found in my local remnants fabric store and mixed it with a grey linen and yellow knit ribbing.  I particularly love the hood on this dress.

As you may know I am a huge fan of pockets and I was toying with the idea of adding a pocket to the front of the dress which I didn't do in the end but I think I will next time I make it - and there will definitely be a next time, my friend has already requested one for her little girl!

To celebrate this pattern tour, Momma Quail is offering a huge 30% off in their Etsy shop through 11/21/15.  Just use the coupon code "MQPATTERNTOUR".  This is going to be the biggest Momma Quail Pattern sale in November so don't wait 'till Black Friday!

They're also having a great giveaway;  3 lucky readers will win the pattern of their choice. Enter here:

Thanks for stopping by; now go and take a look at all the other fantastic bloggers taking part in the Momma Quail Pattern Tour and see what wonderful creations they have come up with:

You May Also Like...

An Awesome Kids Clothes Week / Halloween Giveaway!

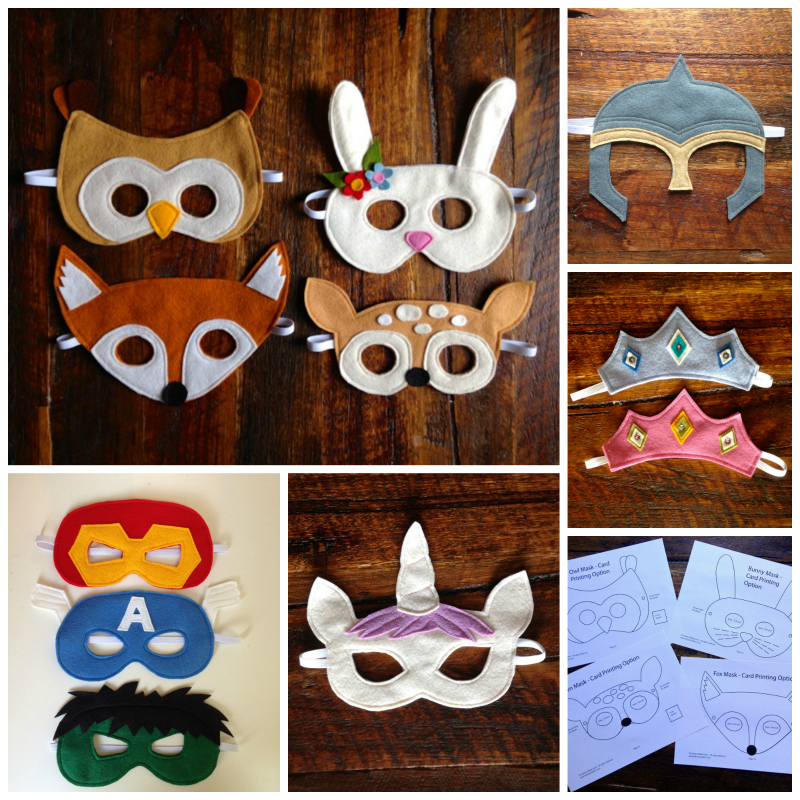
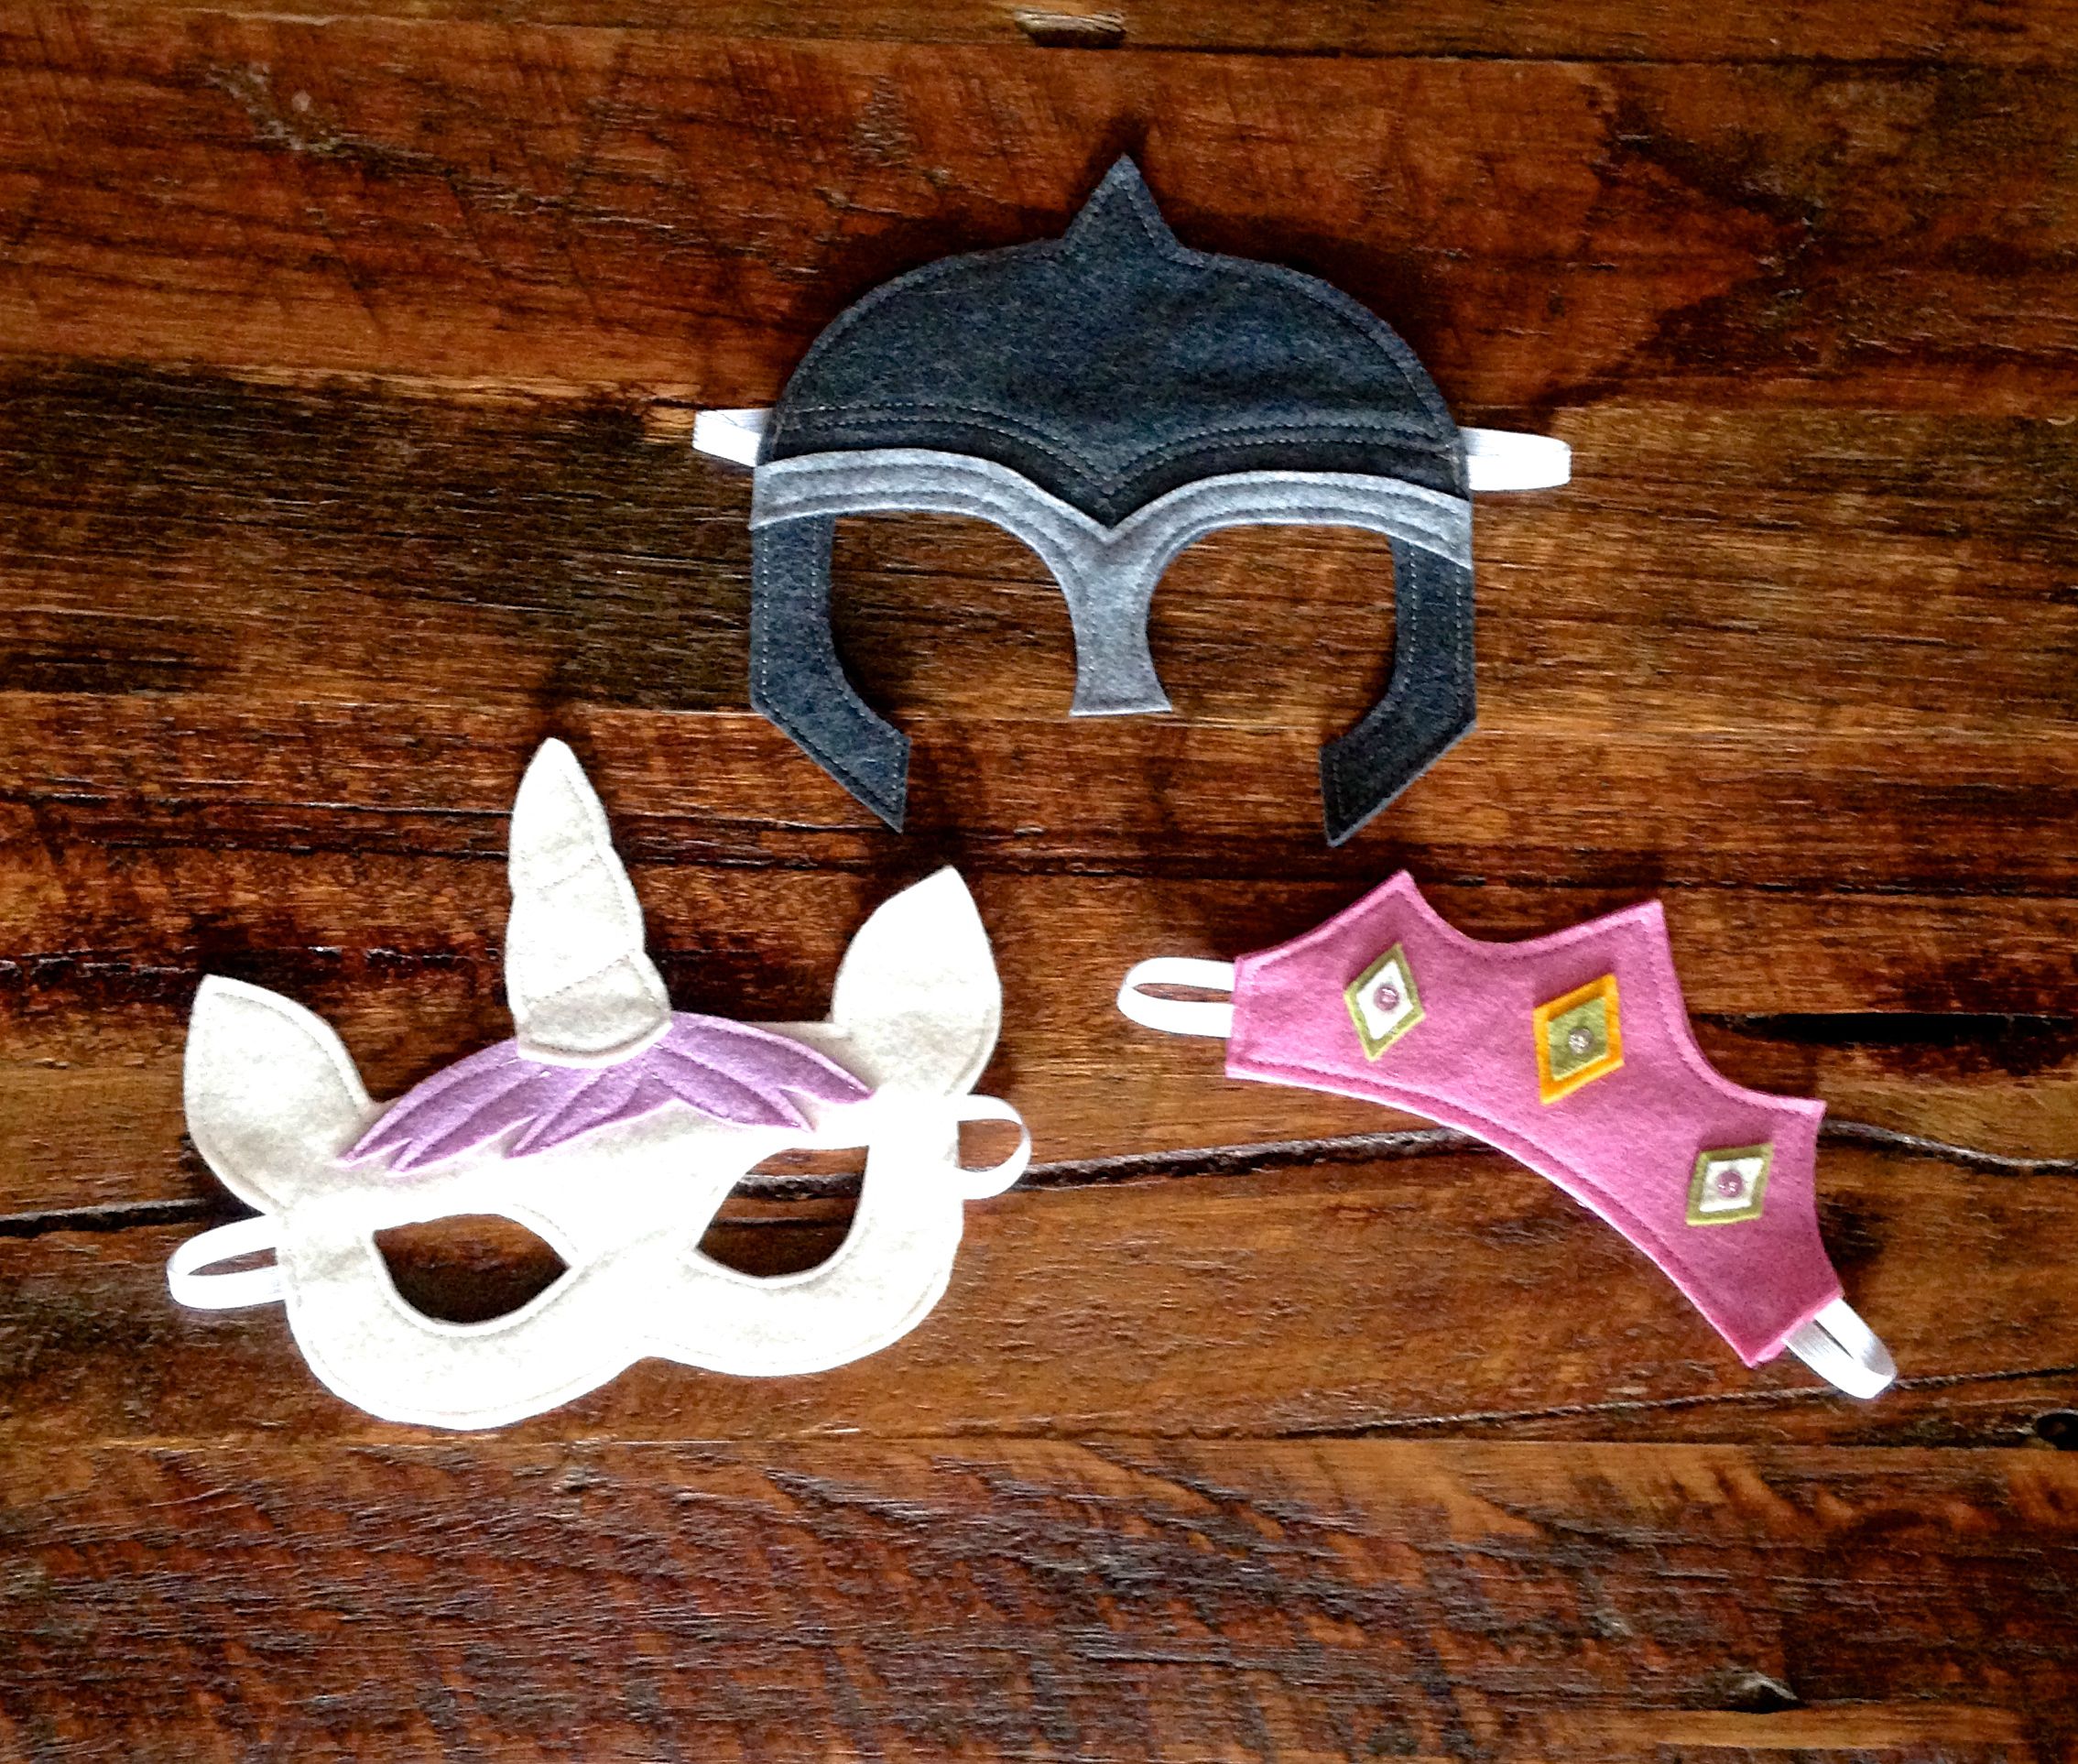
In celebration of Kids Clothes Week (where the theme this season is 'Disguise') and with the imminent arrival of Halloween, I thought it was a good time to hold a giveaway.  I'm offering a full set of my PDF Felt Mask Sewing Patterns to one lucky reader!  The winner will get the Woodland Creatures (Owl, Bunny, Fox and Fawn), Fairytale (Unicorn, Princess and Knight) and Superheroes (Iron Man, Captain America and Hulk) Pattern sets.  

Felt Mask PDF Sewing Patterns | Willow & Stitch

These sewing patterns are super quick and easy to sew and all come with bonus free printable masks - great for a rainy day colouring / decorating activity.  To enter simply comment on this post, follow me on instagram or like the Willow & Stitch Facebook page!  Or do all 3 and get bonus entries! The winner will be drawn at random on Monday 26th October.  If you miss out or if you simply can't wait to get your hands on them then you can find them in my Etsy shop here.

In the meantime I'm going to go and get cracking with my Kids Clothes Week sewing!  I'm very excited to be a KCW Contributor this season.  If you missed my guest blog posts you can find my post on 'Disguised Details' here, and two silly posts on making the most of KCW and finding the time to sew here and here!

Are you taking part in Kids Clothes Week? What will you be sewing first?

You May Also Like...