Free Dribble Bib Pattern and Tutorial
/This is another project from the Mama and Baby sewing book which I wrote for my sister last year. I'm still working on getting it ready to publish online but thought I'd share some of the projects beforehand. Check out my Tutorials page for more free patterns and tutorials.
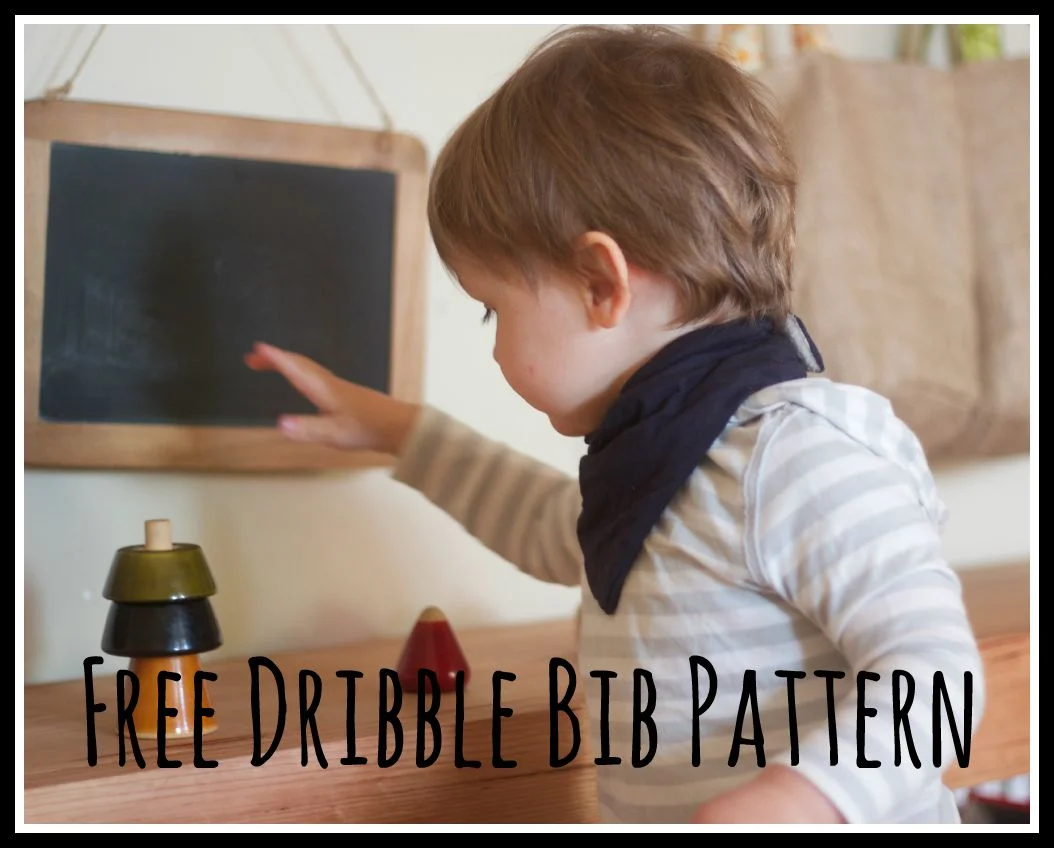
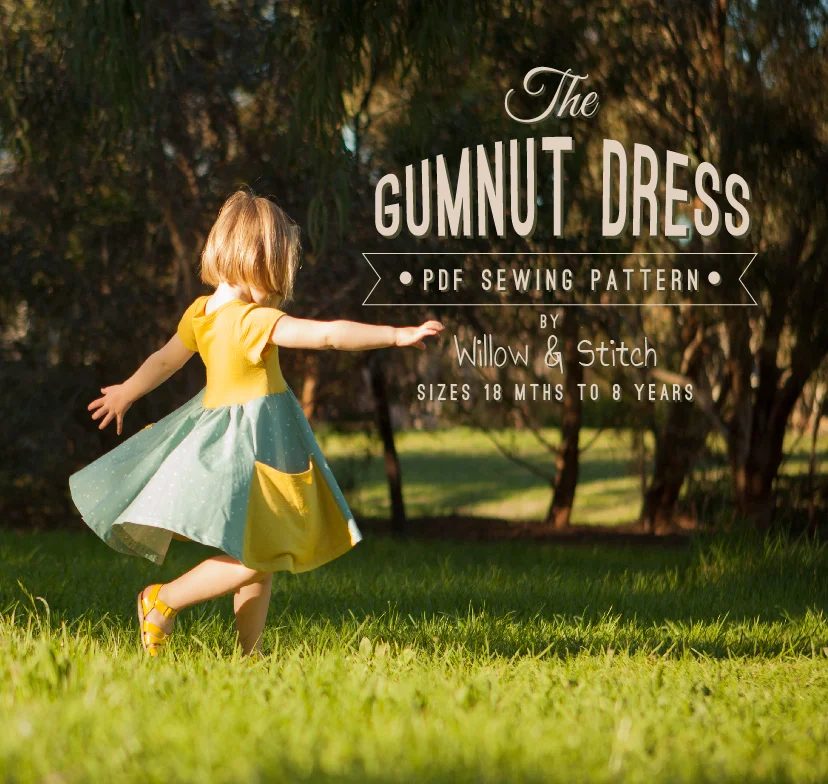
This little cowboy style neckerchief is fantastic for keeping your baby’s clothes dry, particularly as wet t-shirts can cause chaffing and soreness on their little chins and chests. The soft jersey fabric is very absorbent and the folds catch all the dribbles. When it gets too wet or dirty you can just pop on a new one without needing a whole outfit change. These are quick and simple to make and are the perfect project for using up scraps. Click on the image above to download the pattern.
Many people are afraid of using stretch / knit fabrics – and I have to admit that I was one of them before I started playing around with them and discovered that they’re actually great to work with and really very easy once you understand a few basics. If you're new to sewing with knits then I suggest you check out my 'Beginner's Guide to Knits'.
In any case, don’t panic, all you need to remember is not to stretch the fabric when cutting it (a rotary cutter and mat is perfect for this) and to use a ball point (stretch) needle for your sewing machine. A ball point needle (as the name suggests) is a needle with a slightly rounded tip, meaning that it can pass between woven fibres without cutting them and potentially causing runs in knit fabrics.
You will need:
25cm x 50cm of Jersey knit (you can up-cycle an old t-shirt if you like)
25cm x 40cm of fleece / bamboo / towelling or similar for backing.
2 press studs
Dribble bib pattern pieces - click on the image at the top of the page to download them. Pattern pieces include a 1cm (1/2") seam allowance.
Directions:
1. Cut 1 of the bib front from your knit fabric, and 1 of the bib back from your fleece or bamboo backing fabric. Be sure to transfer all pattern markings. Markings for press stud positions should be copied onto the RIGHT side of the bib backing.
Press and sew the pleats:
2. With the bib front right side up, fold bib right sides together so that one of the outer pleat markings is matched to the middle mark. Pin through both layers of fabric where the mark is, then fold bib back to the right side to form a pleat. Press the pleat away from the centre of the bib and pin in place. Repeat for the other side of the bib. Baste along the top edge of the bib front to hold pleats in place.
Join the bib front and back:
3. With bib front and back right sides together, match central notches along the top edge of the bib. Pin in place. Next, match and pin the notches at the pointed tip of the bib (the bottom). Now align the corners of the bib front and back and pin these in place. Ease the knit fabric into place so that it matches the edge of the bib back, taking care not to stretch either piece as you do so and allowing the excess knit fabric to form gentle folds in the middle of the bib. Continue pinning the top and side edges.
4. Using a ball point needle on your sewing machine, join the two pieces with a 1cm (1/2") seam allowance. Sew right around the big, leaving a 5cm (2") turning hole on one of the side edges and backstitching at either side of your turning hole to secure the stitches.
Clip seams and Topstitch bib:
5. Trim seams at corners and tip of bib to 5mm. Clip seams every 2 cm along sides and top of bib, taking care not to cut through your line of stitching. Do not clip seam allowance at your turning hole.
6. Turn the bib to the right side, using your fingers or a knitting needle / chopstick to push out the corners. Use your fingers to pinch seams along the edges and pin them in place. Allow your knit fabric to extend a few mm (1/8") past the bib backing so that if you look at the bib from the back you can see a very narrow band of the bib front right around the edge. This will give the bib a better shape by ensuring that the backing fabric is not stretched too tight which would cause the bib tip to curl upwards.
7. Topstitch 5mm (1/4") from the edge, right around the bib, closing the turning hole at the same time. Remove pins as you sew, taking them out just before you reach them to allow fabric to relax into shape.
Attach press studs:
8. Attach your poppers according to the manufacturers instructions. The pattern includes positions for 2 press studs so that you can adjust the size of the bib as your baby grows.
Look at that dribble bib in action, soaking up all that goo - Isn't it a beautiful thing?! Is there a dribbly baby in your life who needs one (or two or three?) of these?

