Free Dribble Bib Pattern and Tutorial

This is another project from the Mama and Baby sewing book which I wrote for my sister last year.  I'm still working on getting it ready to publish online but thought I'd share some of the projects beforehand.  Check out my Tutorials page for more free patterns and tutorials.

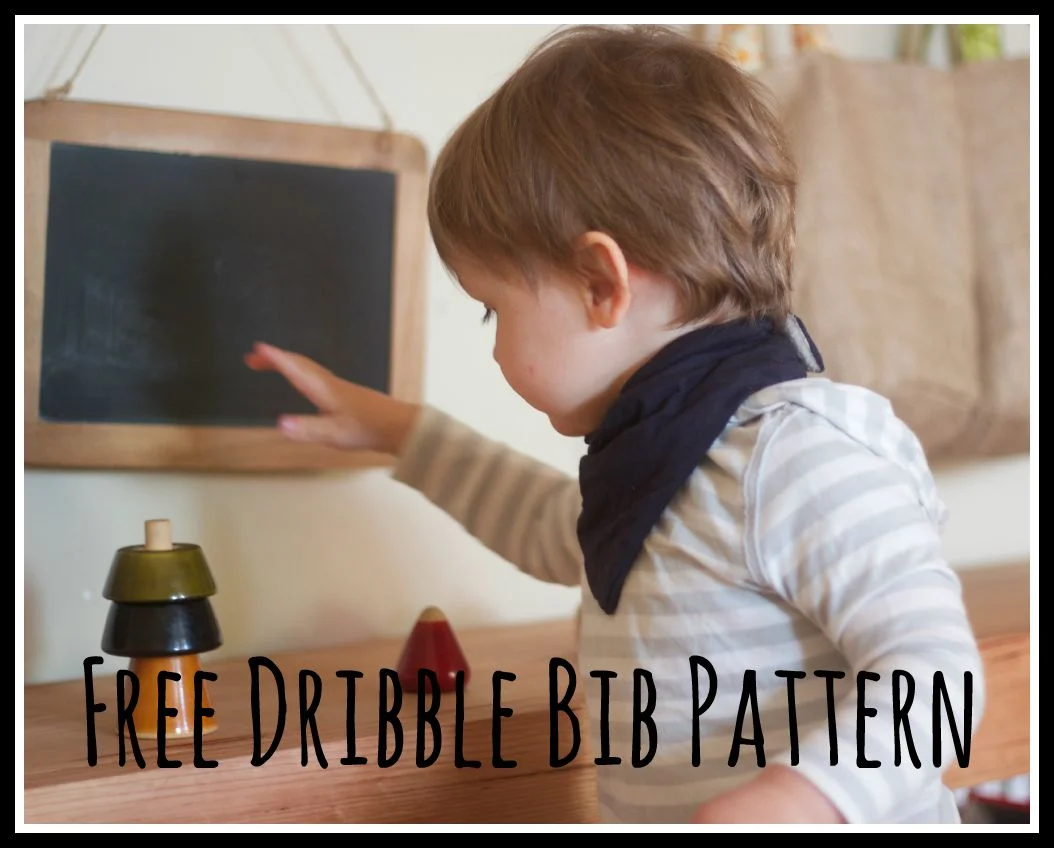
This little cowboy style neckerchief is fantastic for keeping your baby’s clothes dry, particularly as wet t-shirts can cause chaffing and soreness on their little chins and chests. The soft jersey fabric is very absorbent and the folds catch all the dribbles.  When it gets too wet or dirty you can just pop on a new one without needing a whole outfit change.  These are quick and simple to make and are the perfect project for using up scraps. Click on the image above to download the pattern.

Many people are afraid of using stretch / knit fabrics – and I have to admit that I was one of them before I started playing around with them and discovered that they’re actually great to work with and really very easy once you understand a few basics.  If you're new to sewing with knits then I suggest you check out my 'Beginner's Guide to Knits'.

In any case, don’t panic, all you need to remember is not to stretch the fabric when cutting it (a rotary cutter and mat is perfect for this) and to use a ball point (stretch) needle for your sewing machine. A ball point needle (as the name suggests) is a needle with a slightly rounded tip, meaning that it can pass between woven fibres without cutting them and potentially causing runs in knit fabrics.


You will need:

25cm x 50cm of Jersey knit (you can up-cycle an old t-shirt if you like)

25cm x 40cm of fleece / bamboo / towelling or similar for backing.

2 press studs

Dribble bib pattern pieces - click on the image at the top of the page to download them. Pattern pieces include a 1cm (1/2") seam allowance.


Directions:

1. Cut 1 of the bib front from your knit fabric, and 1 of the bib back from your fleece or bamboo backing fabric. Be sure to transfer all pattern markings. Markings for press stud positions should be copied onto the RIGHT side of the bib backing.

Press and sew the pleats:

2. With the bib front right side up, fold bib right sides together so that one of the outer pleat markings is matched to the middle mark.  Pin through both layers of fabric where the mark is, then fold bib back to the right side to form a pleat. Press the pleat away from the centre of the bib and pin in place. Repeat for the other side of the bib. Baste along the top edge of the bib front to hold pleats in place.

Willow & Stitch | Free Dribble Bib Tutorial

Join the bib front and back:

3. With bib front and back right sides together, match central notches along the top edge of the bib. Pin in place. Next, match and pin the notches at the pointed tip of the bib (the bottom).  Now align the corners of the bib front and back and pin these in place.  Ease the knit fabric into place so that it matches the edge of the bib back, taking care not to stretch either piece as you do so and allowing the excess knit fabric to form gentle folds in the middle of the bib.  Continue pinning the top and side edges.

4. Using a ball point needle on your sewing machine, join the two pieces with a 1cm (1/2") seam allowance. Sew right around the big, leaving a 5cm (2") turning hole on one of the side edges and backstitching at either side of your turning hole to secure the stitches.

Clip seams and Topstitch bib:

5. Trim seams at corners and tip of bib to 5mm.  Clip seams every 2 cm along sides and top of bib, taking care not to cut through your line of stitching.  Do not clip seam allowance at your turning hole.

6. Turn the bib to the right side, using your fingers or a knitting needle / chopstick to push out the corners. Use your fingers to pinch seams along the edges and pin them in place. Allow your knit fabric to extend a few mm (1/8") past the bib backing so that if you look at the bib from the back you can see a very narrow band of the bib front right around the edge. This will give the bib a better shape by ensuring that the backing fabric is not stretched too tight which would cause the bib tip to curl upwards.

7. Topstitch 5mm (1/4") from the edge, right around the bib, closing the turning hole at the same time. Remove pins as you sew, taking them out just before you reach them to allow fabric to relax into shape.

Attach press studs:

8. Attach your poppers according to the manufacturers instructions. The pattern includes positions for 2 press studs so that you can adjust the size of the bib as your baby grows.

Free Dribble Bib Pattern | Willow and Stitch

Look at that dribble bib in action, soaking up all that goo - Isn't it a beautiful thing?!  Is there a dribbly baby in your life who needs one (or two or three?) of these?

You May Also Like...

Free Feeding Bib Pattern

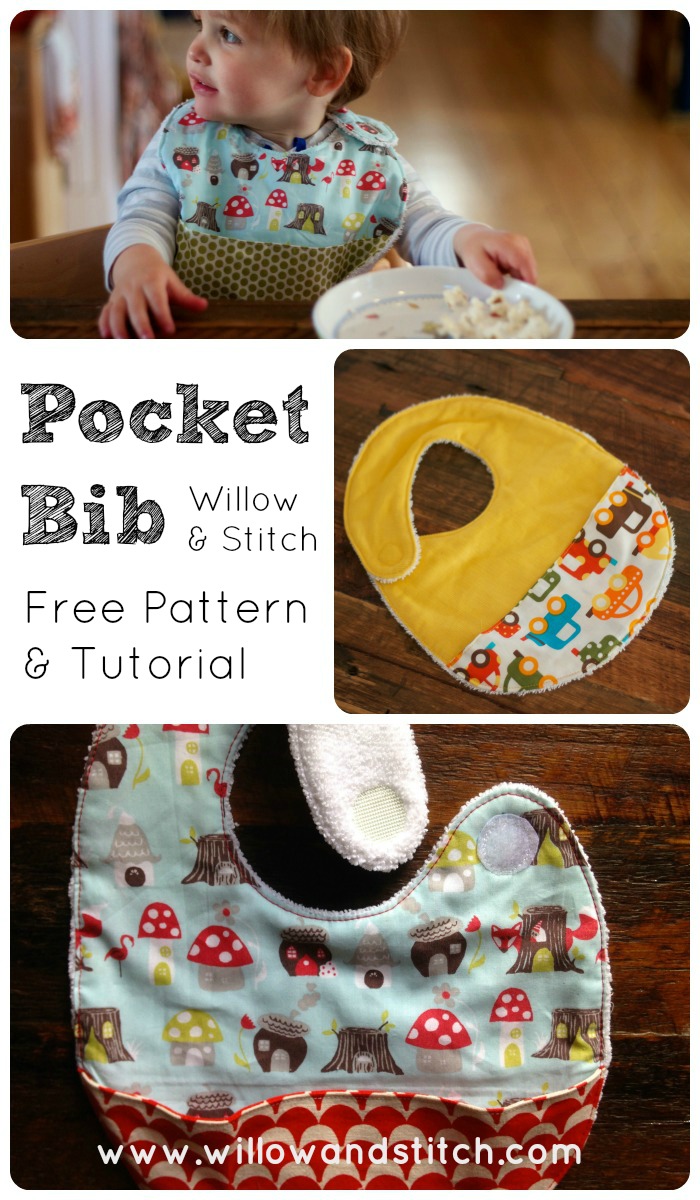
I'm still working on getting my e-book ready for download, but I thought that in the meantime I would put up some of the projects in it as free tutorials.  This feeding bib is one of my favourites; It's such a lovely way to use up scraps of your favourite fabrics and is really quick and easy to make, even for a beginner.  The pocket at the bottom is very handy for catching spills and when you're finished you can take it off and use the towelled backing for a quick face wipe!

Feeding Bib with Pocket - A free Tutorial and Pattern from Willow and Stitch

Click the link in the image below to download your free copy.

I hope you enjoy this tutorial, I'd love to hear your feedback and if you've made a bib then why not upload a picture to the Willow and Stitch Flickr pool or use the hash tag #willowandstitch on instagram, it'd be great to see what you've made.  

If you liked this pattern then sign up to my newsletter to get notifications of new pattern releases and special offers.  I'll only email when something new and exciting is available.  I hate having my inbox filled with unnecessary emails!  Having said that, feel free to email me if you have any questions about this or other patterns - I never get sick of emails from readers!

willowandstitchdesign@gmail.com

The Best (And Easiest!) Burp Cloth Tutorial.

Burp Cloth Tutorial

There’s nothing that says ‘new mum chic’ like milky stains on your shoulder, and while we wear them like a badge of honour, it’s sometimes nice to have your clothes stay clean for more than 5 minutes; and it’s always nice to cut down on the laundry a little.  Protect your clothes and add a touch of beauty to your day at the same time with these lovely (and very functional) burp cloths.

This project is so, so easy. In fact, given that they are made from old-fashioned cloth nappies I’m not even sure it really counts as sewing, but I’ve spent a lot of time trying out different designs and I’m convinced that these are the best. They’re big enough to protect from largish pukes, super absorbent and soft for wiping little chins. The fact that they’re so easy is just an added bonus.


You will need:

1 packet of cloth towelling nappies (you can buy these online or from most baby supplies stores)

1 62cm x 20cm piece of printed cotton fabric per towel

Note: These measurements work for standard sized cloth nappies: 60x60cm. If your nappies are a different size then calculate the size of fabric needed as follows:

The length is the length of your nappy plus 2cm.

The width is the width of your nappy divided by 3.

Cutting mat, rotary cutter and ruler (optional)


Before you start:

Use a 1cm seam allowance unless otherwise stated.

Remember to wash, dry and press all fabrics (and the cloth nappies) before cutting.


Directions:

1. Cut your decorative cotton rectangle(s). It is easiest to do this using a rotary cutter and cutting mat as you can ensure that your edges are straight and your corners are right angles.

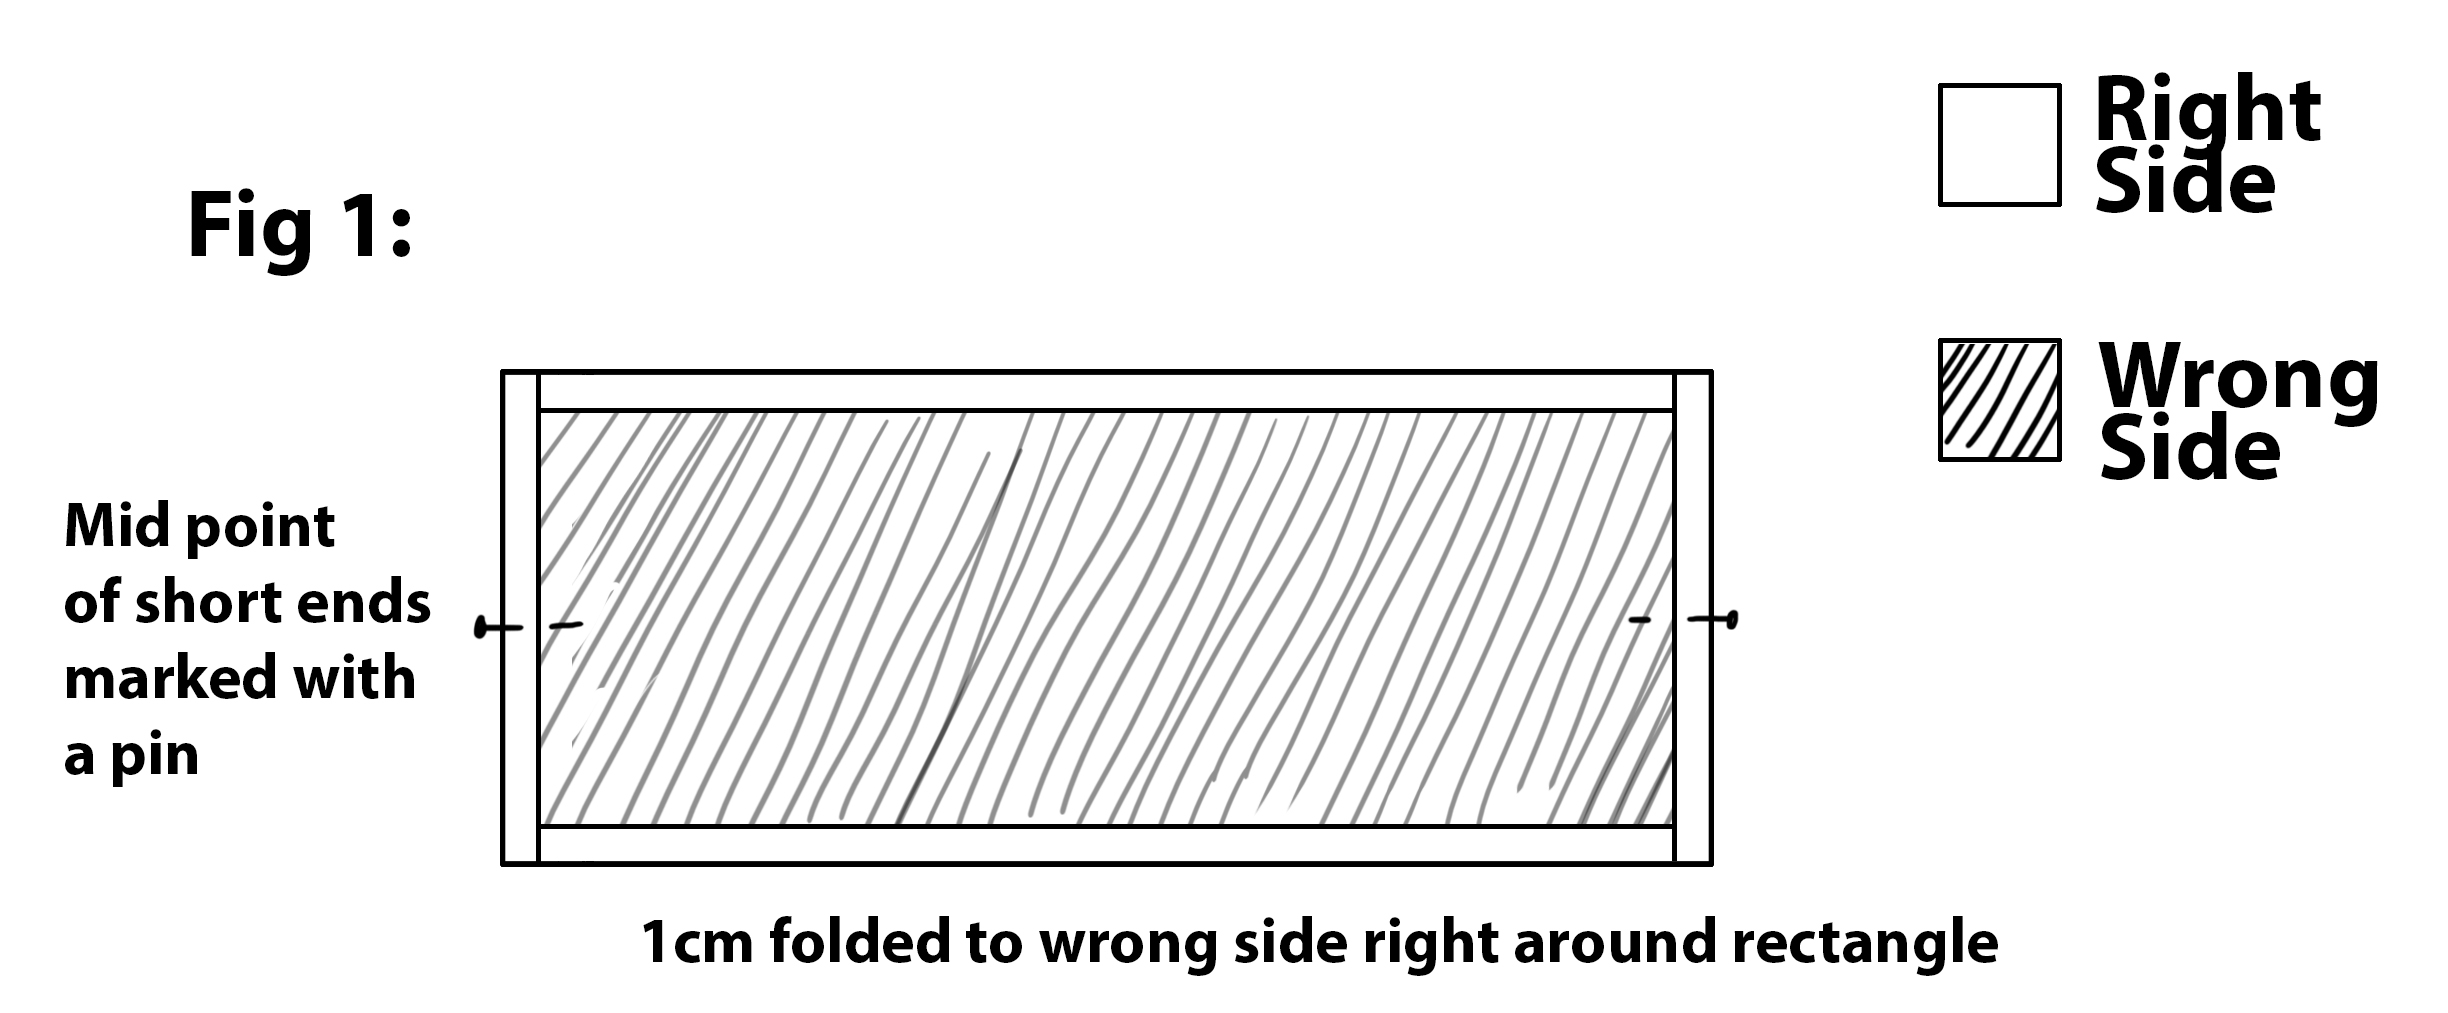
2. Using an iron, press 1 cm to the wrong side along each edge of your fabric. Measure and mark the midpoint of each short end with a pin. Fig 1.

Burp Cloth fig 1

3. Find and mark the midpoint of 2 opposite sides of your cloth nappy.  With both pieces right side up, centre the fabric rectangle on one of the cloth nappies, aligning the middle of the fabric with the mid point of each edge of the cloth nappy. Pin in place right around the fabric.

4. Using a complementary coloured thread on top and a white thread underneath, topstitch a few millimetres from the edge right around your decorative fabric to secure it to the nappy.

A Quilt for Baby Olive

IMG_0945.jpg

This is the playmat / quilt which I made for my new little niece, Olive. I'm not a quilter and they usually turn out full of 'rustic charm' (i.e. slightly wonky and rather uneven) but I'm really pleased with this one.  I LOVE the colours, which I chose because I thought they would go well with my sister's house and because we didn't know if she was having a boy or a girl so it needed to be pretty gender neutral.

I chose a very simple design for obvious reasons!  The finished quilt measured 140cm x 110cm wide (so that i could use a single piece of backing fabric). I pretty much just cut strips of my fabrics in 3 different widths - I think they were 8, 10 and 12cm (approx 3, 4 and 5").  I sorted the strips by width and sewed all of the same ones together, then cut the strips up into pieces which ranged from about 70 - 90cm (2-3 feet).

I played around with the arrangement of my strips until I was happy with them (all the while trying to fend off the cat who seemed hell bent on sitting on my fabric as usual! Does anyone else have this problem? - it happens EVERY TIME!).  I then cut some strips of white fabric in the same widths, sewing them to the ends of my patterned fabric to make each one the right width (or wider). I did this very imprecisely and then trimmed them afterwards.

I bought the bias binding (because, quite frankly, I HATE making bias binding - it's like the bane of my life! OK, well that might be a little bit of an overstatement, but I do find it very annoying.  It's worth it sometimes of course, but still… if you can buy a lovely one like this then why bother?!)

It's hand quilted, because any time I try to quilt on my sewing machine it just ends up all puckered. Also, I wanted to be able to sit in front of the TV with my feet up, re-watching episodes of The West Wing while I did it (I may be a little obsessed with that show…)

I can't remember the name of the backing fabric, but I do love it so! Can anyone enlighten me?

A Problem.. and a Solution

IMG_1149.jpg

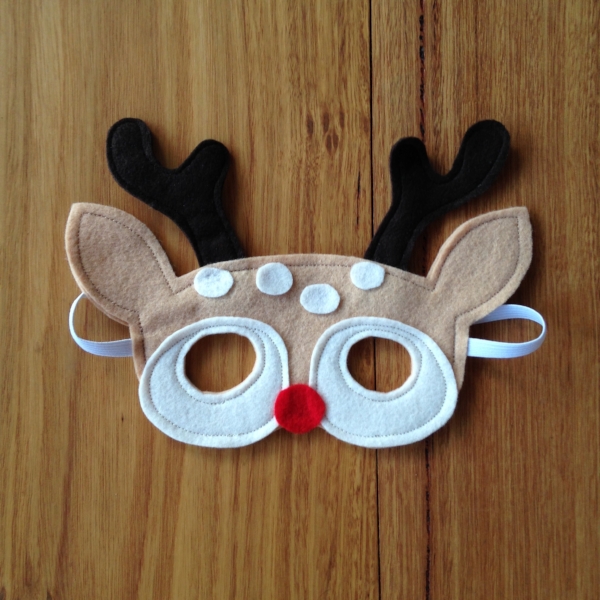
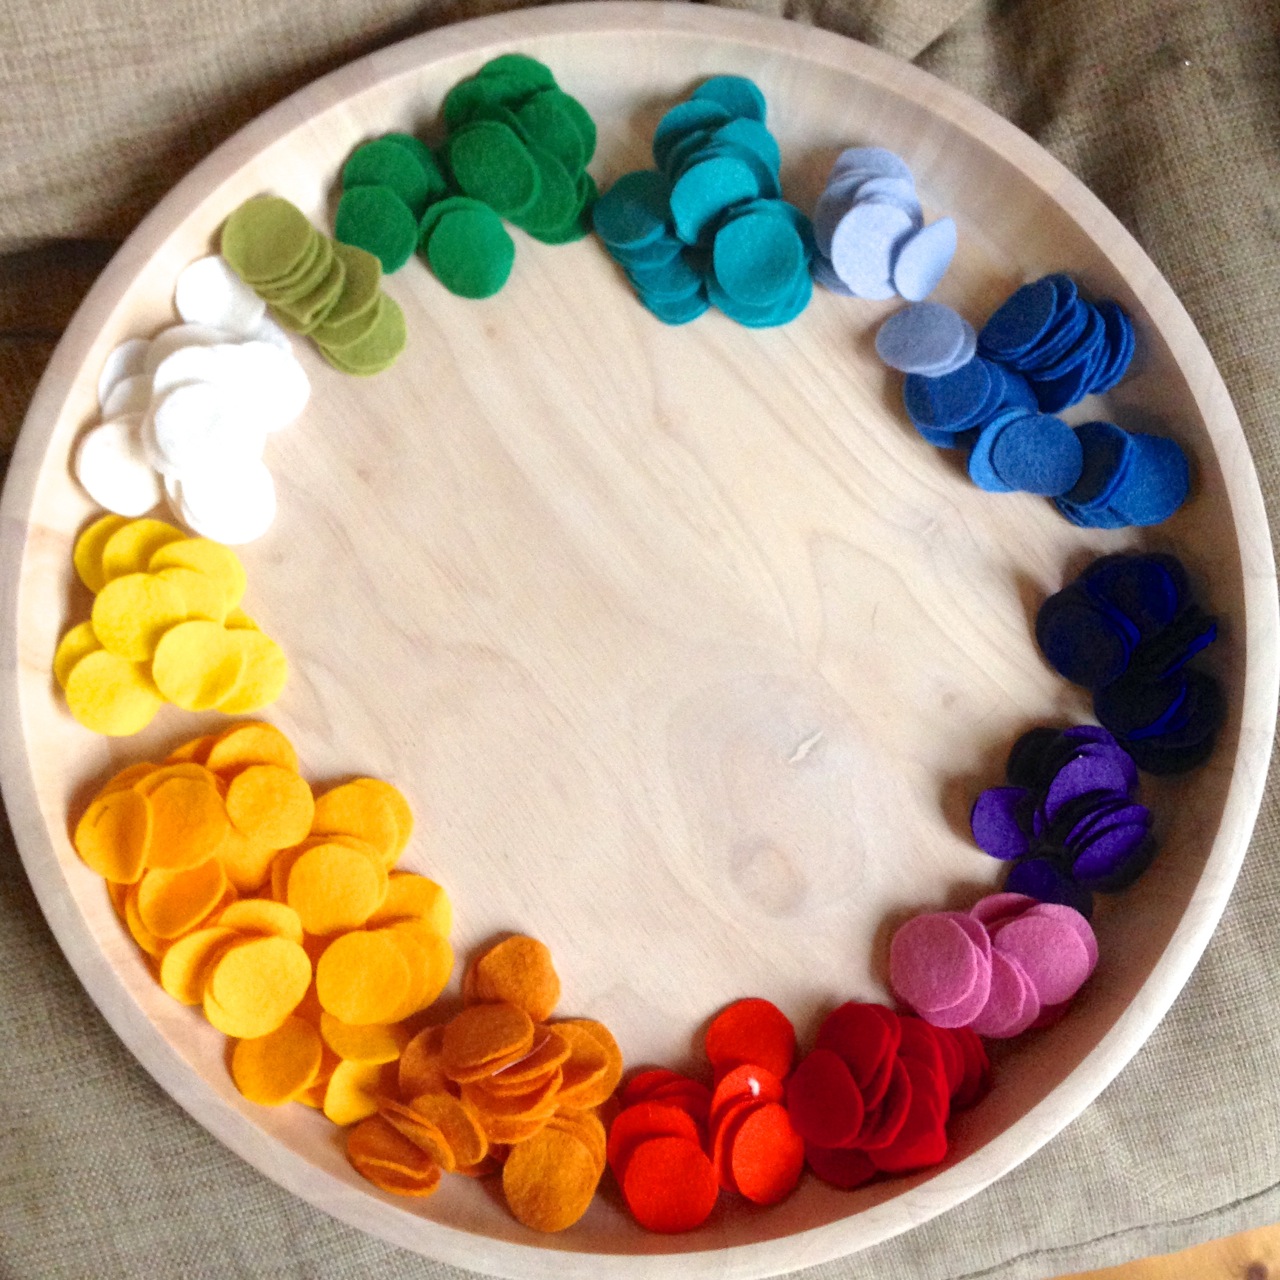
So, this is my problem.  You all know the score.  You make dozens of felt masks and end up with a massive pile of offcuts that are too small to do anything with because you're incapable of throwing stuff away. Right?  No? Just me then… Oh well, that's fine because I've come up with a very nifty and frankly awesome way of using them up!

felt confetti

Cut them into small circles and use them to make gorgeous confetti garlands!  I know.. I'm a genius! And so modest too… *ahem!

Anyway; To celebrate this wonderful discovery and all of the new masks in my Etsy store, I'm going to give away one of these fantastic Rainbow Confetti Garlands! All you have to do is share my page and sign up for the Willow and Stitch newsletter (see sidebar).  The winner will be selected on Sunday 8th February. I promise not to bombard you with emails and will only send out a newsletter when something really exciting is happening (I'm anticipating every couple of months). Plus, if I start to bore you then you can, of course, unsubscribe at any time.

The Garlands measure approximately 2.5 metres in length and have extra long cotton at each end for fastening.  They make beautiful nursery decorations or hang them over a window, mirror or mantle piece, or anywhere really that could do with a splash of fun and colour.  If you don't happen to win this one then they are for sale in my Etsy shop for $19.95 AUD.

Link to my Etsy Store here and in the sidebar.

Thanks for visiting!

rainbow confetti garland

Wrapping up an exciting project...

Literally.  I'm so excited to finally have this finished and ready to post.  This is the book that I wrote (quite a while ago now) while I was on maternity leave with little Jacob.  It's a book for new mums and it's full of little sewing projects and ideas on how to get the most out of your first year with your new baby.  I did approach some editors to see if they would be interested in publishing it but they mostly told me that they wouldn't publish craft books unless the author already had a big online following. Which I don't. So that was that. I was all too ready to believe that my book wasn't good enough (my interpretation of their kind rejections) so feeling slightly embarrassed about having tried at all, I put it on the shelf and mostly forgot about it for a while.

Then, last May during a trip back to the UK to visit my family, my little sister discovered that she was pregnant with her first baby. It was so wonderful to be there with her at that exciting time and to share her joy.  One of the first things that she said to me was 'You'll have to email me a copy of your book. I'd love to start sewing once I'm on maternity leave and have a little more time.'  I was simultaneously filled with pleasure that she wanted to read what I'd written and with dread in case she thought it was no good.  I've never been a 'good writer' (unlike my sister) and nearly always feel embarrassed and awkward about letting people read what i've written (I feel rather as if they were reading my diary) .  You may well be wondering what on earth I'm doing writing a blog if that's the case - it's a good question, one I ask myself a lot, but more on that later...

I can't say no to one of the people I love most in the world, particularly not when she was showing such faith in my ability, but all the same I can't pretend that i'm not afraid of failing to live up to her expectations.  I decided that the best thing to do was to turn my half finished word document and rough sketches into a proper book.  Something that I could (try to) feel proud of and something that my sister could treasure, so that she could see the time and effort and love that I'd put into something just for her.  

So here it is. This was the result. It certainly was a labour of love, but do you know what? Despite the many mistakes I really am proud of it.  I feel like I have really accomplished something.  I still feel anxious and self conscious about sharing it but those insecurities are tempered by a feeling of achievement, and the knowledge that it will give her a lot of pleasure.  And if it gives my sister pleasure then maybe it would give other people pleasure too. So, once I've had a chance to upload all the pattern pieces into .pdf files that you can download, I'll make it available as a free e-book.  It's not perfect but i'm coming to terms with that.