Reindeer Mask Tutorial - Bonus Pattern Piece

Reindeer Mask Tutorial

Can you believe we’re halfway through November, moreover, that it’s only 5 weeks until the Silly Season starts?!  I can’t, but that’s mostly because I live in topsy turvy land these days.  I’ve been in Australia for 12 years now but I still can’t get used to Christmas and Spring occurring at the same time.  I really need those environmental clues of the Northern Hemisphere, the autumn leaves falling, the nights drawing in, the chill in the air, to get me into the christmas spirit.  I pine for snow and log fires, sledding and hot chocolate, mittens and hot water bottles.

That’s not to say that I don’t enjoy a hot christmas.  It’s a lovely holiday here, full of light and the joys of early summer.  Little girls in white dresses, cherries and stone fruit, seafood and cocktails, bright sunshine and cool breezes.  We throw open all the doors and lounge around in the garden, enjoying balmy evenings under twinkling fairy lights.

Nonetheless, I do find that it requires more of a conscious effort on my part to make December feel festive, and because I am determined that my children should find it as magical as I remember the holidays from my childhood being I tend to overcompensate by going all out with the decorations, music, christmas craft activities, and, of course, handmade gifts.

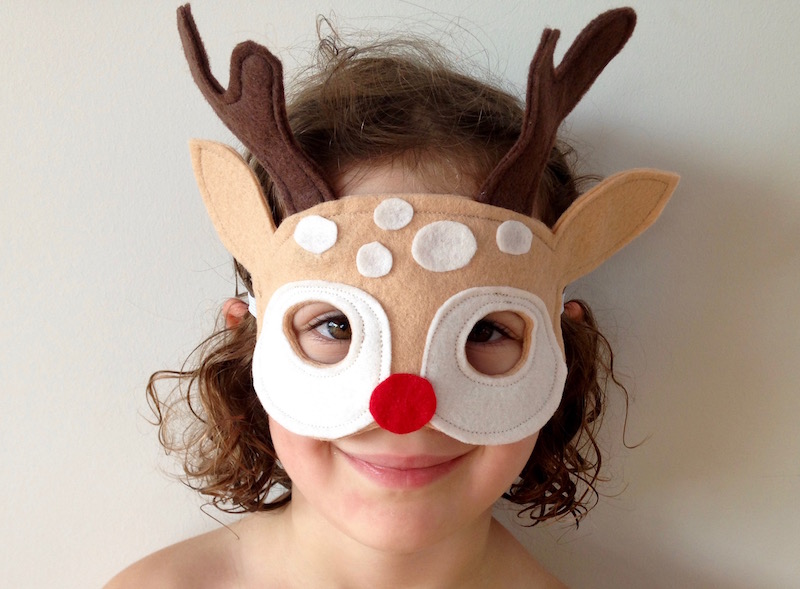
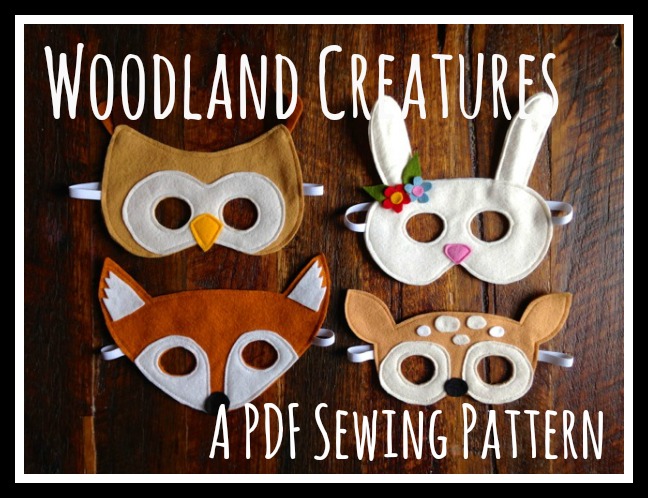
One of my favourite Christmassy things to make are these little Reindeer masks. I’m heading to Swagger Child Design Market this Sunday so I have been busy stocking up on them, and today I’m offering you a free pattern piece so that you can make them too.  The cute little fawn in my Woodland Creatures Sewing Pattern can be transformed into a festive Reindeer with the addition of these antlers.  Download the pattern extension piece here and scroll down for the tutorial.  If you don’t have a copy of the Woodland Creatures PDF and would like one then you can purchase it here.

Tutorial:

1. Download the bonus pattern pieces and print out.  Make sure that you set your print settings to 100% or select ‘no scaling’.  Measure the 1” square on the page to check that it has printed correctly.

2. Cut out the pattern pieces and pin them to a double layer of felt.  Cut around each piece and then sew the two layers together, sewing 5mm (¼”) from the edge.

Reindeer Mask

TIP:  For a neater finish and an easier time sewing, draw around your pattern pieces while they are pinned to the felt.  You will need a white marker or chalk pen to do this on the dark brown felt.  DO NOT cut the felt out.

Instead sew 5mm (1/4”) inside your drawn line and then cut along the white line once you have sewn the two layers together.

Doing it this way stops the felt from shifting as you sew which can be a particular problem when sewing around curves.

Reindeer Mask Tutorial

3. Sew your fawn mask following instructions on the PDF pattern.  When you come to sew the 2 layers of the face together, sandwich each antler between the 2 face layers, positioning each approximately 1cm (½”) from the ear, and letting the base of the antler extend at least 1.5cm / ¾” into the mask.  Pin in place before sewing around the face.

Reindeer Mask

As you can see I use the same technique for sewing all of my masks i.e. I sew before cutting wherever possible - It's quicker and gives a much nicer finish!

Well, that's it.  You're done!

Happy Holidays.

Reindeer Mask

Wild Things - A New Safari Mask Sewing Pattern

Wild Things - Safari Felt Animal Mask PDF Sewing Pattern from Willow & Stitch

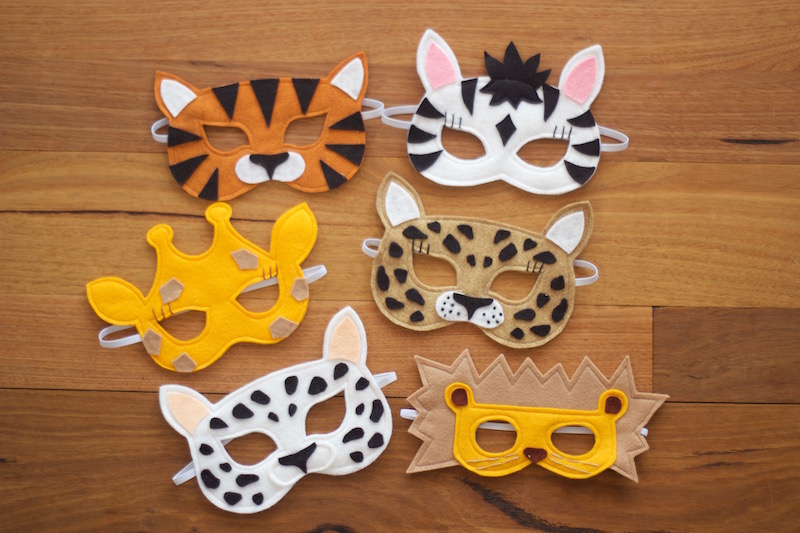
Are you ready for the kids to go totally wild?  Want to take a safari without ever leaving home?  Watch your backyard become the African savannah or turn the living room into a water hole with these lovely dress up masks.

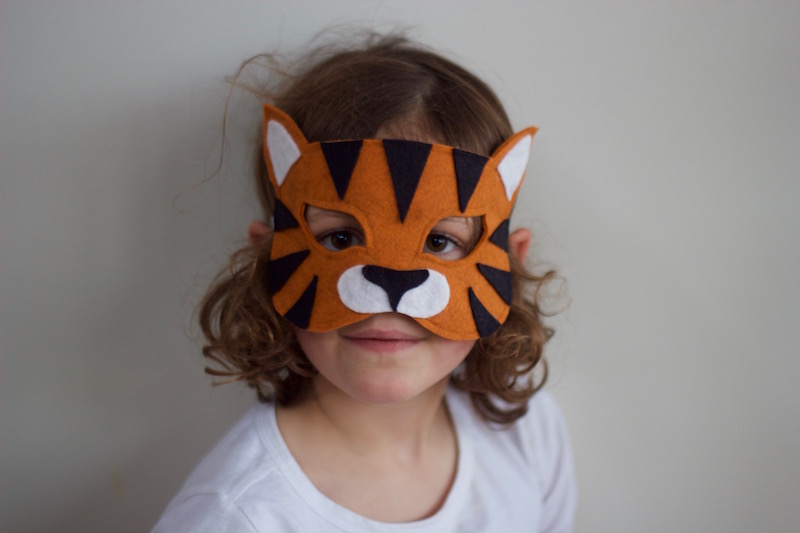
This Wild Things Mask Sewing Pattern features patterns for Lion, Tiger, Giraffe, Zebra and Leopard masks.  You can even make the Leopard into a Snow Leopard for a mountain adventure. 
Wild Things - Leopard Felt Animal Mask PDF Sewing Pattern from Willow & Stitch

I'm so pleased with this pattern.  I think the designs are my favourites so far and I've put a lot of extra effort into the pattern and tutorials.  I've come up with a better (and easier) way of sewing the eye holes, and added whole sections explaining each technique used to make the masks.  There's information on how to resize them to fit dolls (or newborns), printing guides and notes on materials to use.

Wild Things - Snow Leopard Felt Animal Mask PDF Sewing Pattern from Willow & Stitch
Wild Things - Tiger Felt Animal Mask PDF Sewing Pattern from Willow & Stitch

The patterns are just as easy to follow as ever and are perfect for beginners.  They're quick to sew and make a perfect gift or stocking filler.  I think that practically all of the children Ella's class have gotten a couple of these masks for their birthday this year!  I had a particularly amusing / gratifying experience this last weekend when I took Ella to a 'Superheroes' party for one of her school friends (you can see pictures of her freezer paper stencilled Wonder Woman costume here) - I looked around the room and realised that about half of the kids were wearing masks that I had sewn and Ella had chosen to give to them for their birthday's.  It made me giggle and warmed my heart!

Wild Things - Lion and Zebra Felt Animal Mask PDF Sewing Pattern from Willow & Stitch

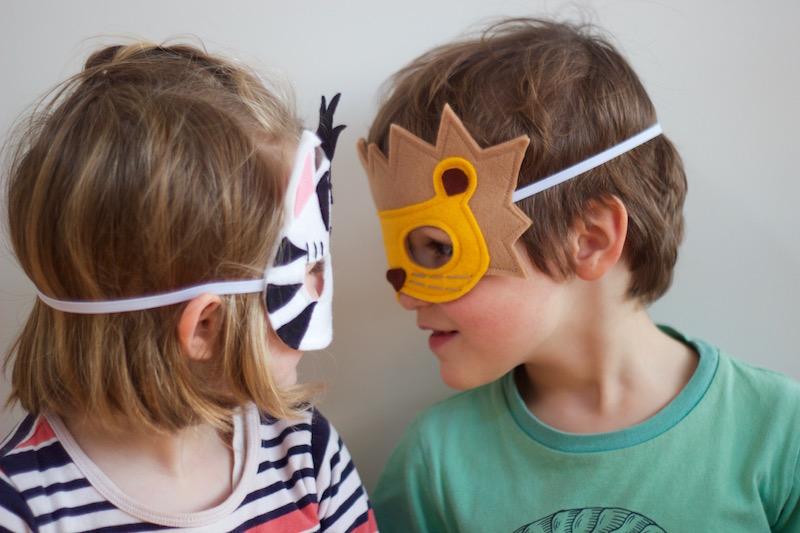
Anyway, back to these little wild things; we had so much fun shooting these pictures.  I can tell that these masks are going to get a lot of play time.  The leopard and snow leopard were particular favourites with my little testers. Anything that ROARs was a big hit too of course!  (Any excuse to make a lot of noise really!)

Roooooaaaar!

Roooooaaaar!

Wild Things - Giraffe Felt Animal Mask PDF Sewing Pattern from Willow & Stitch

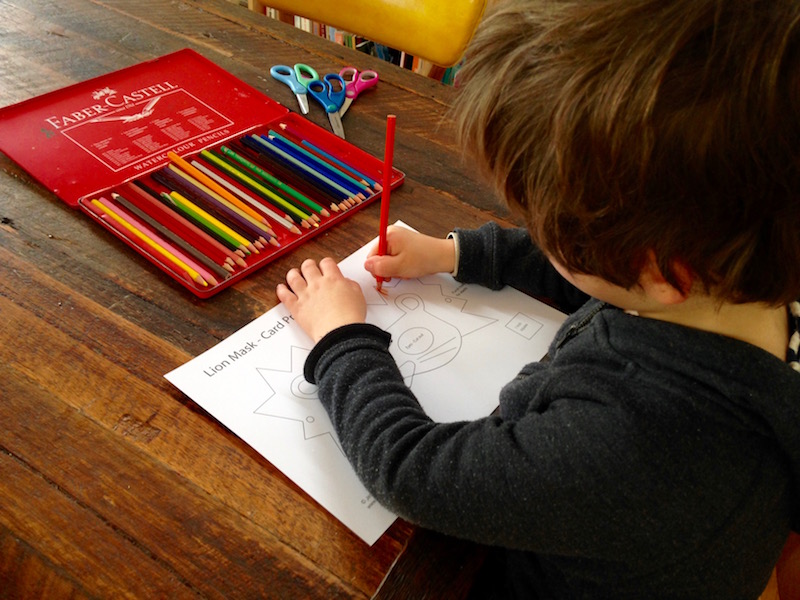
As with all of my other PDF Mask Sewing Patterns this one contains bonus printables of all of the masks.  You can print these at home onto card then let the kids colour, paint or decorate them however they like.  Whey they're finished you simply cut them out and thread them with elastic.  It's one of our favourite rainy day activities and is also great as a birthday party craft activity.

Colour...

Colour...

Cut...

Cut...

Play!

Play!

To celebrate the pattern release, I'm offering free copies of not only this pattern but the ENTIRE collection of Willow & Stitch mask patterns to two lucky readers.  One here and one over on Instagram.  You are welcome to enter both giveaways as many times as you like.  Good luck!

A Free Batman Mask Pattern for you!

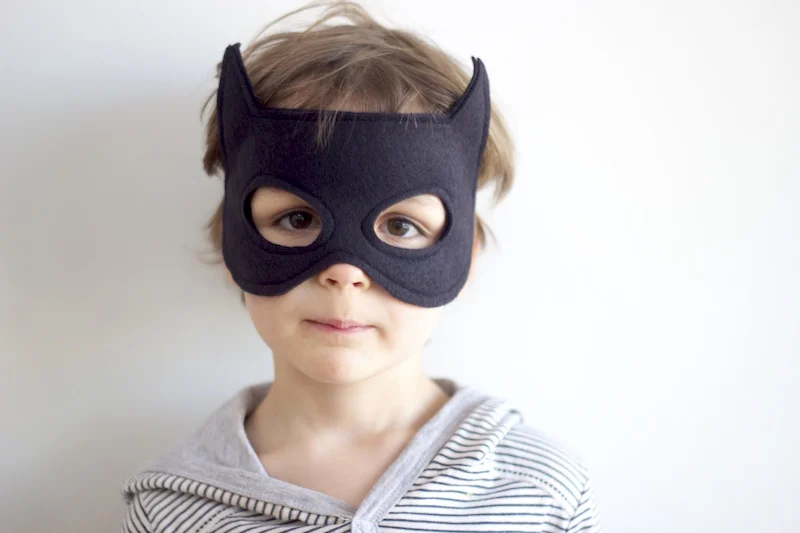
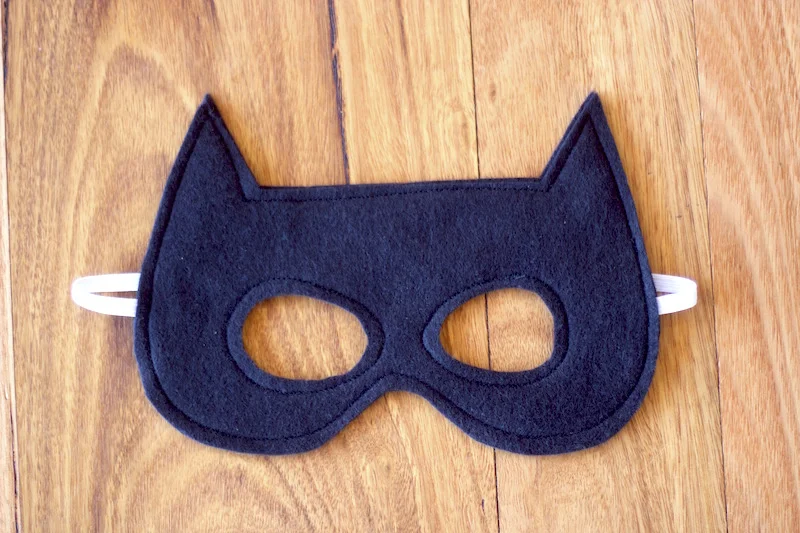
Free Batman Felt Mask Pattern | Willow & Stitch

Bam! Pow! Kaboom!  There have been a lot of superheroes racing around my house recently, rescuing dolls and dinosaurs in distress and generally causing well intentioned chaos.

I've been sewing an AWFUL lot of masks in the last month or so, stocking up my Etsy shop and preparing for the Christmas markets, and silly season in general.  I'm working on getting my second set of superhero mask patterns up in the Etsy shop soon, but in the meantime I thought you might like a little freebie!

Click here to download your FREE Batman felt mask sewing pattern.

The pattern can also be printed onto cardstock, painted, coloured or decorated and cut out - perfect for entertaining the kids on a rainy day or for children's parties.  Be sure to print the pattern at actual size - do not select scaling in your print options.

It's super easy this one; I don't have any photo illustrations for you but you won't need them! This mask should fit most children from around age 2.

You will need:

21 x 30cm (9 x 12") of high quality black felt

Approximately 31cm (12") of 8mm (3/8") wide woven elastic

Black thread

1.  Print the pattern piece and cut 2 mask shapes from your black felt.  TIP:  Draw around the insides of the eyes (with a white pencil or chalk) but do not cut them out yet. 

2.  Lay the 2 pieces one on top of the other, right sides together.  Pin in place.  Use a pin to mark the placement of the elastic on each side of the mask.  

3. Sandwich the elastic between the two layers of felt, pinning it in place so that it extends approximately 1.5cm (1/2") into the mask at each side.

4. Sew right around the outside of the mask, sewing through both layers of felt, and sewing 5mm (1/4") from the edge.  When you reach the spots where the elastic enters the mask sew backwards and forwards a few times to really secure it.

5.  Sew around the eye hole markings, sewing at least 5mm (1/4") from the white lines that you have drawn and keeping the lines INSIDE the circle that you are sewing. Take care not to catch the elastic in your stitches.

6. Cut along the white lines to reveal the eye holes. Again; take care with the elastic, this time making sure you don't cut through it! Cutting the eye holes out after you have sewn around them will give you a much neater finish.

Hope you and your little superheroes enjoy this tutorial.  I always love to see your creations if you feel like sharing them!

You May Also Like...

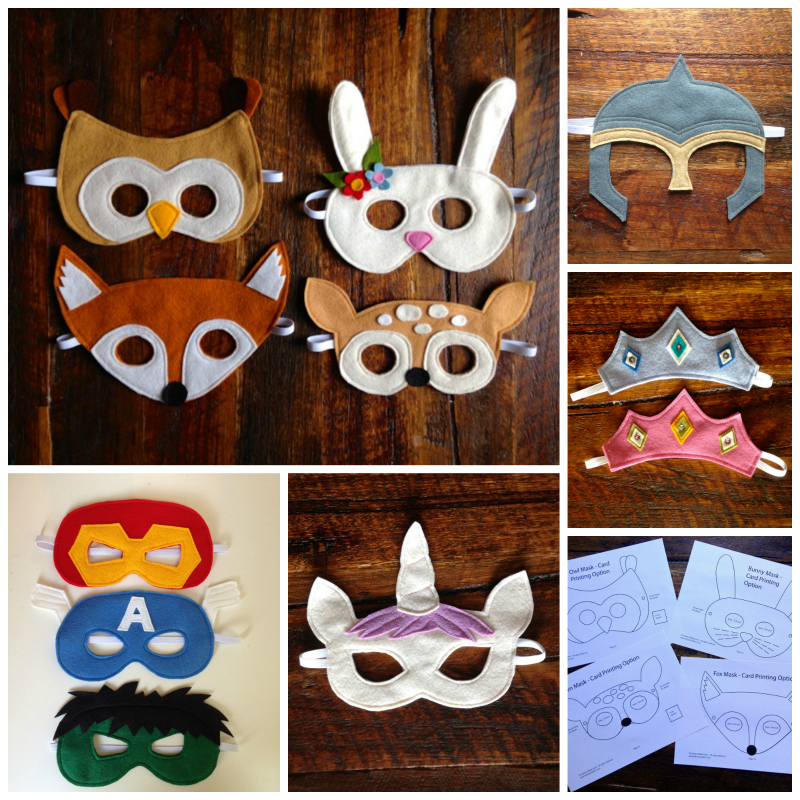
Fairytale Felt Mask Patterns now in my Etsy Store!

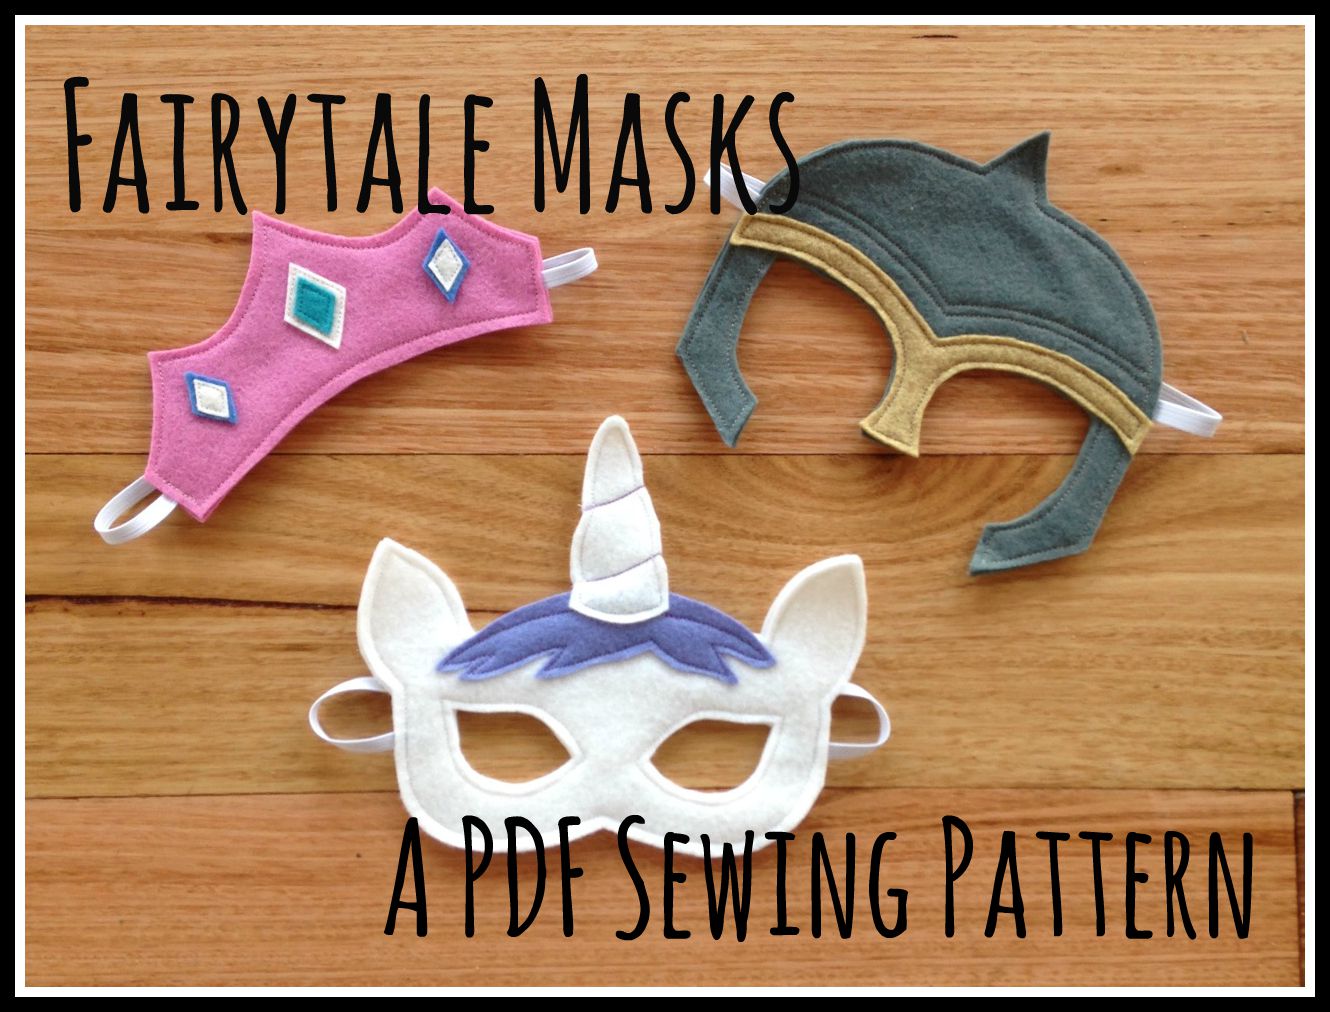
Willow and Stitch Fairytale Mask Pattern

New things in my Etsy Store today.  Most exciting is this fairytale mask pattern.  I've been meaning to finish it for aaaages, but you know....  

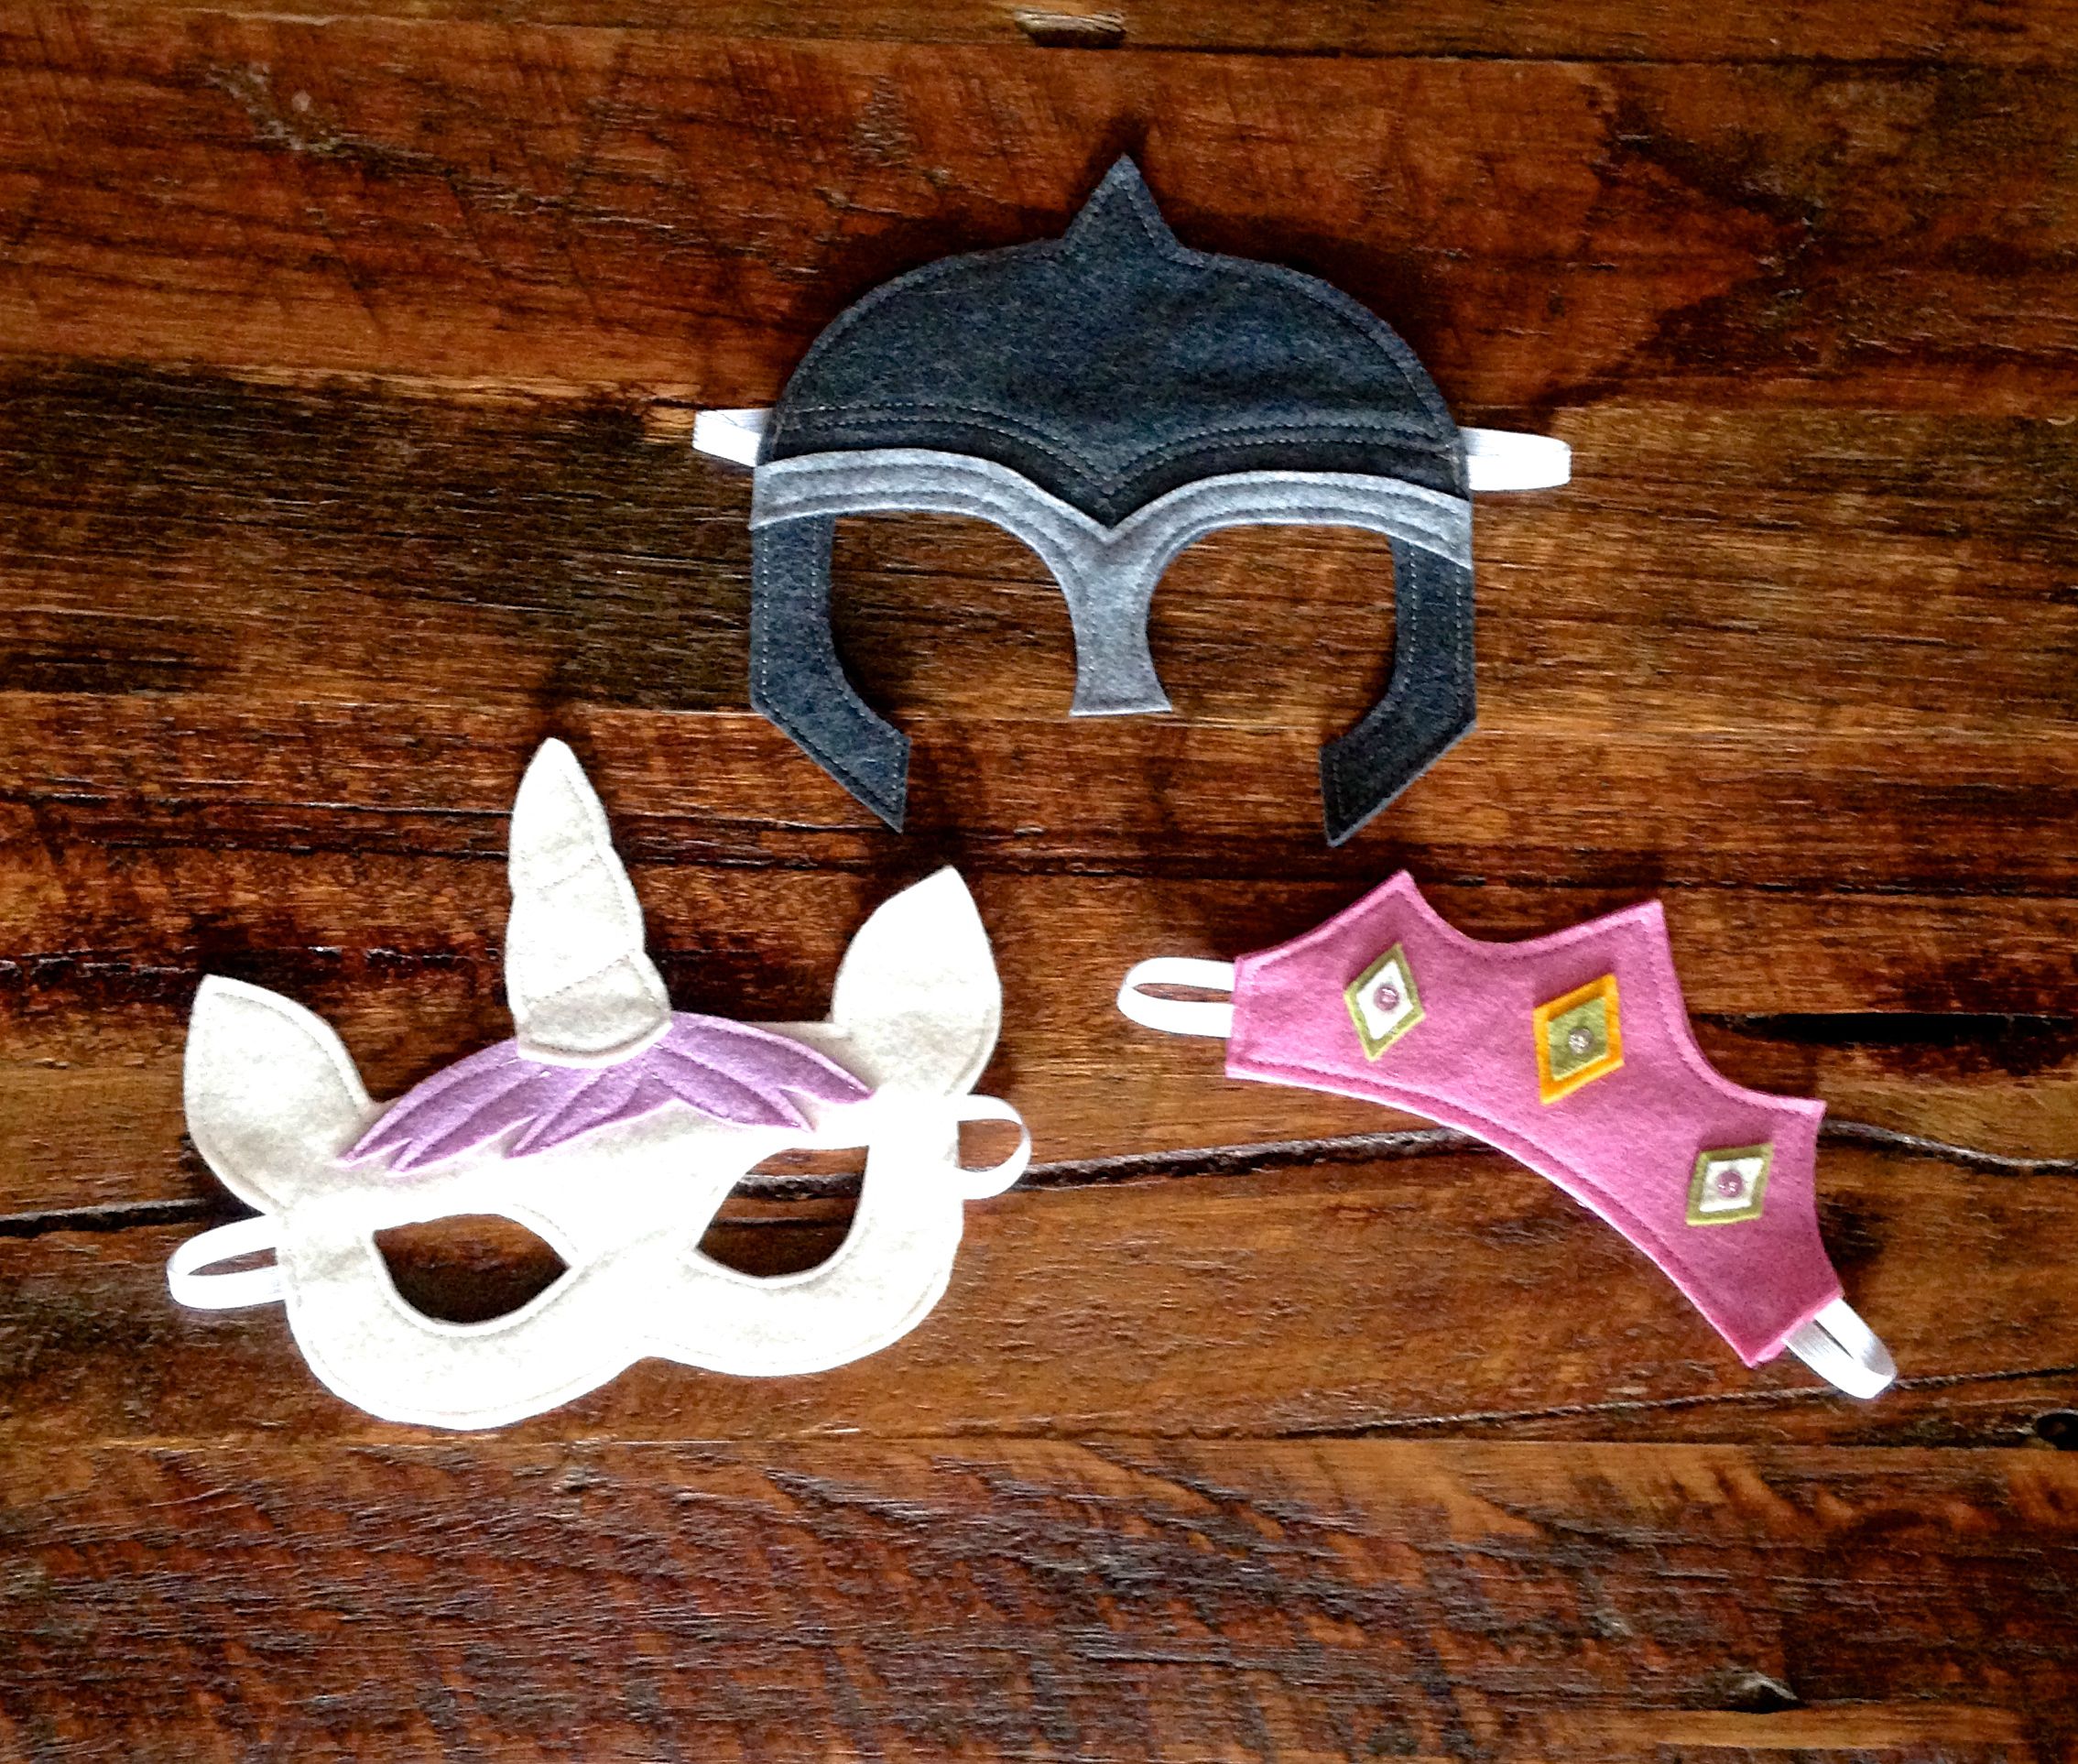
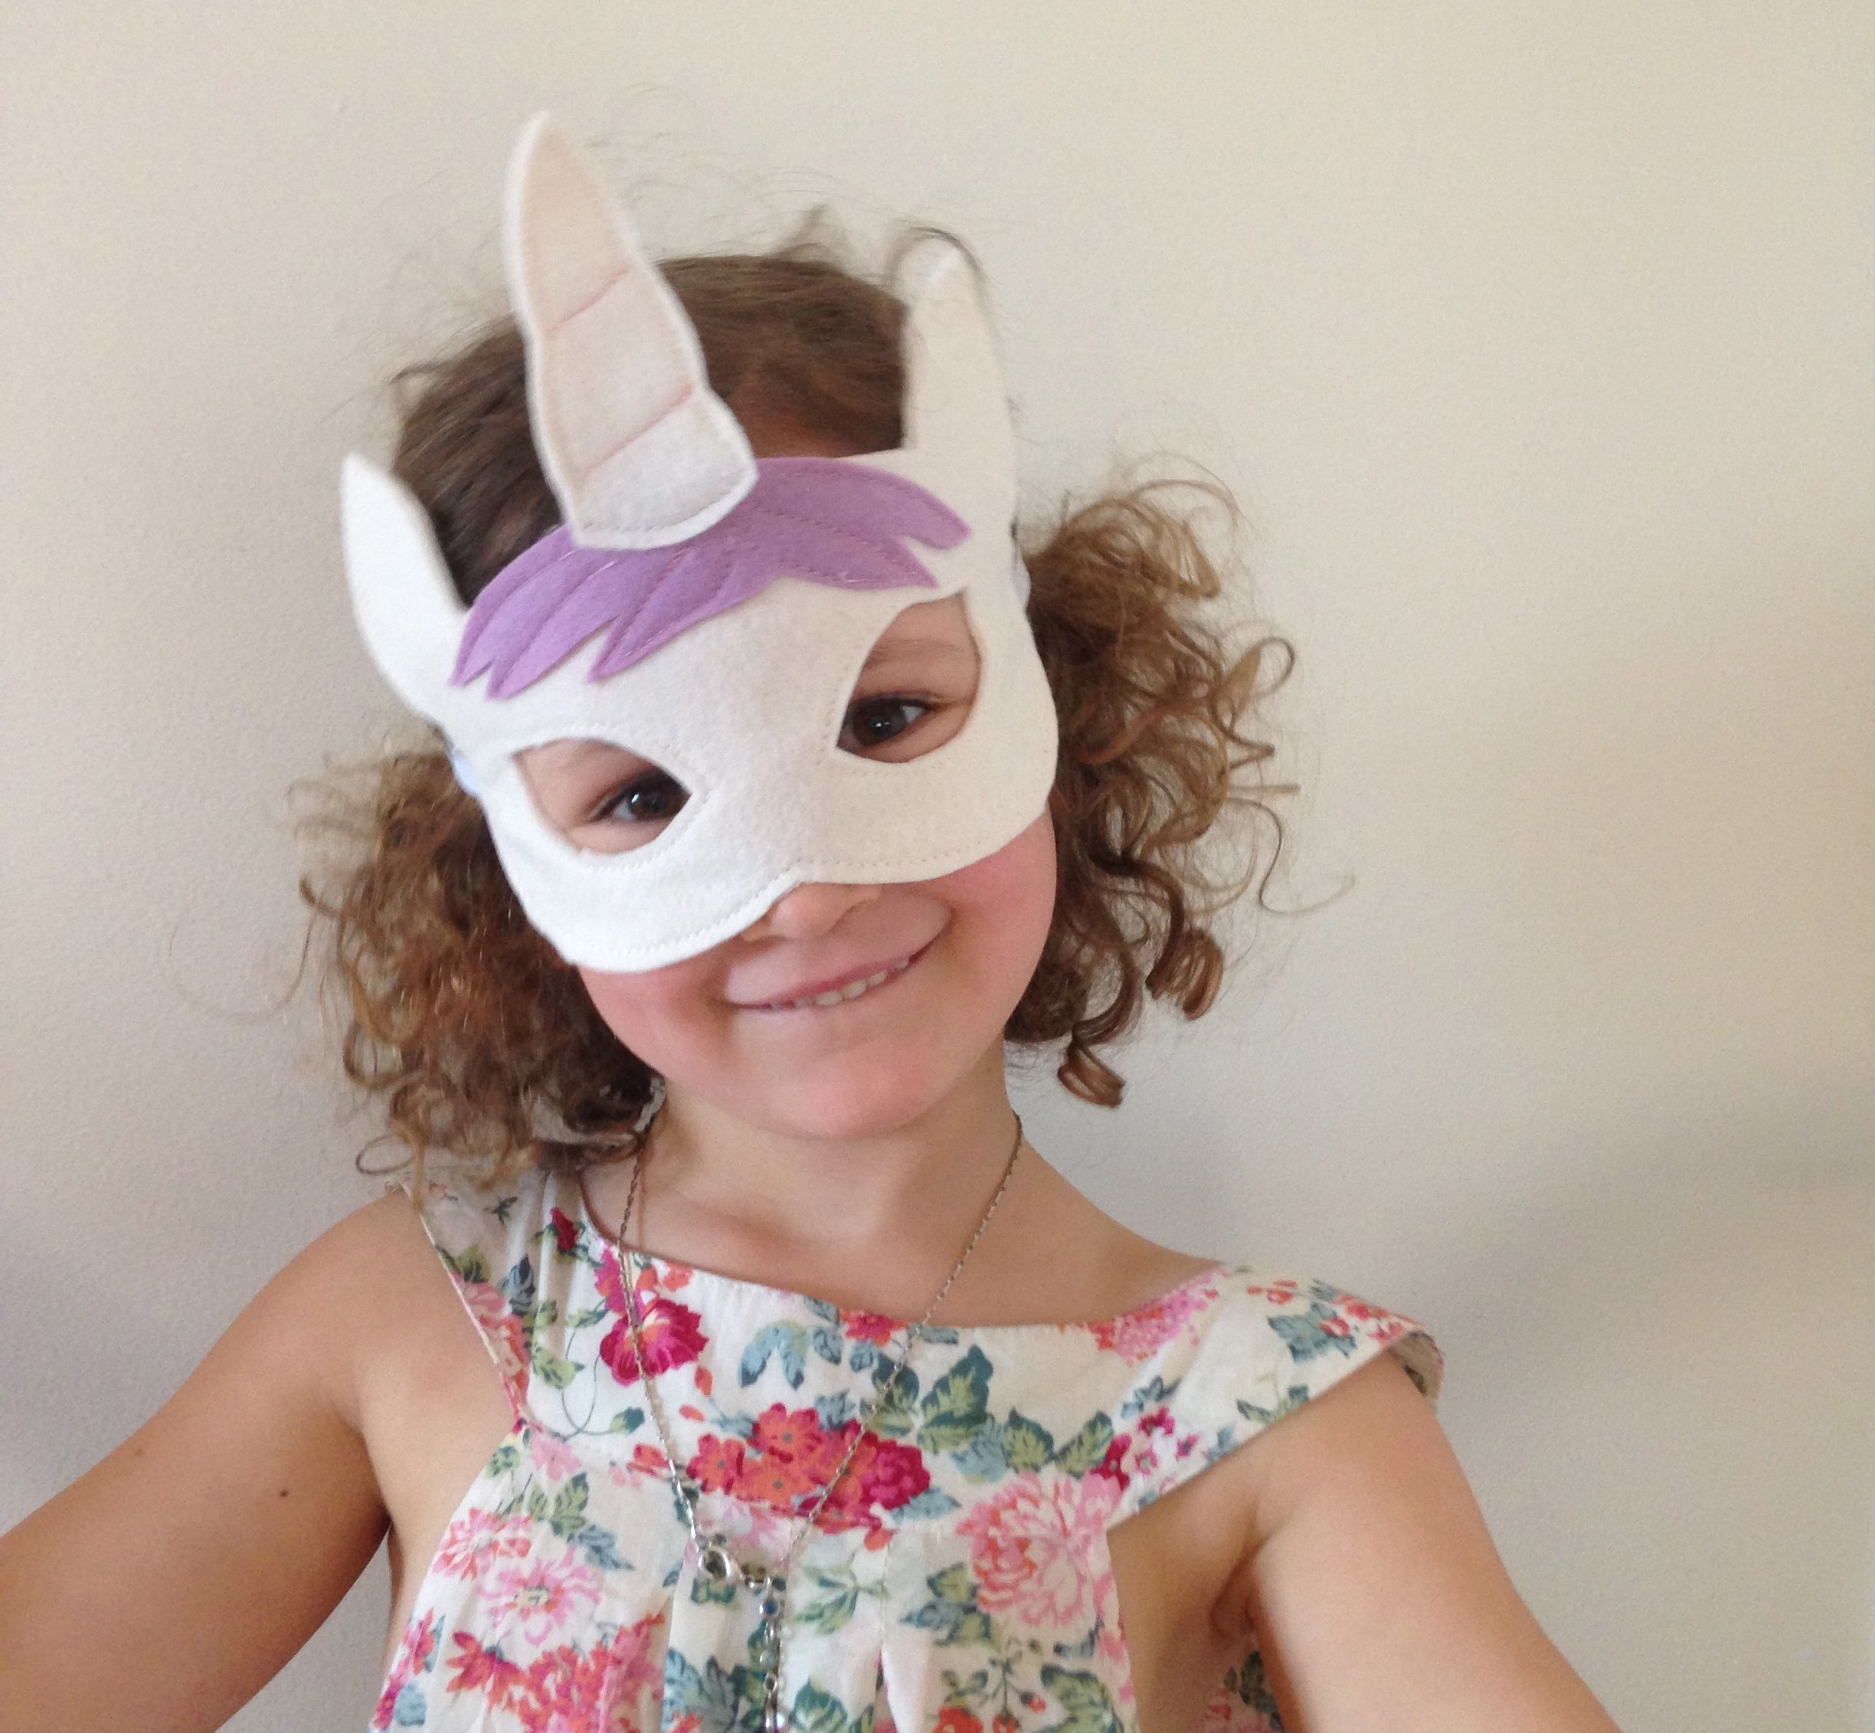
The PDF pattern includes a Princess Tiara, a Knight's Helmet and (best of all) a Unicorn.  You heard - a friggin' UNICORN!! Seriously, if I could walk around all day wearing a unicorn mask I absolutely would.  And now so can you.  

As always the pattern includes bonus printable masks so you can print them onto card stock and let your little ones colour them to their heart's content before they wear them.  I always think this would be a great party activity, or just a nice way to spend a rainy afternoon.  

Find them in my Etsy Store now for just a few dollars.

Unicorns BABY!!!!

Unicorns BABY!!!!

You May Also Like...

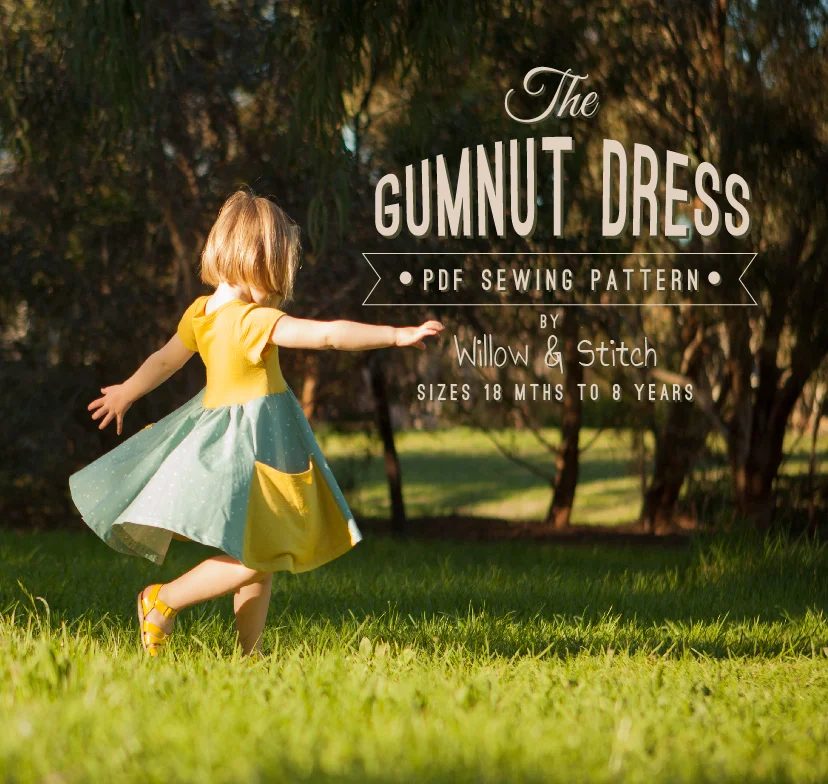
Gumnut Dress Pattern Launch! (and ANOTHER giveaway!)

It's time!  Time to send my baby (erm, dress pattern...) off out into the world alone.  I'm so excited to be able finally release this pattern. It's been a whole lot of work to get to this point, let me tell you!  One day perhaps I will be able to do this full time but until then it's a lot of late nights.  Not that I'm complaining; I have had so much fun designing this pattern and I have learnt so much over these past few months.

I'm so proud of this dress pattern and I hope you'll love it as much as I do.  What's not to love really; Twirly skirt, comfy knit top, huge pockets for collecting treasures.... Cute enough for parties, and comfy enough to wear all day long it's the only dress pattern you'll need this summer! 

Thank you to everyone who signed up before the pattern release.  I'll be sending out your free copies shortly.  Sorry to those who missed the deadline.  But don't despair - the pattern is now available for purchase via Craftsy and also in my Etsy store.  

By happy coincidence today is also Sew Mama Sew's Giveaway Day!  So, to celebrate the launch I'm giving you another chance to win a free copy! I have 2 free Gumnut Dress PDF Patterns to give away.  To enter simply leave a comment below. I blogged yesterday about some of the things I love about sewing; How about you - why do you love to sew?

If you follow me on Instagram then you can have an extra entry, just leave two comments - easy peasy!

If you're new here why not take a look at the Patterns and Tutorials page - there are lots of free patterns that you can download instantly!  Or scroll down the side bar for some of my favourite blog posts.

Winners will be chosen at random and announced on Monday 11th May. Good luck and thanks for stopping by!

UPDATE:  This giveaway is now closed.  Thank you everyone who left a comment.  I really loved reading them all and hearing your thoughts.  Winners were drawn by random number generator.

Winners of the Free Gumnut Dress pattern were:

Comment #4: Cheryl

Comment #88: Cherie

Congratulations ladies! Please email me at willowandstitchdesign@gmail.com so that I can send you your prize!

Sorry to all of those who didn't win.  I've very grateful for your kind words about my Gumnut Dress Pattern.  If you would like to purchase a copy you can do so via Craftsy or Etsy for just $9 USD. 

Gumnut giveaway competition winner #1
Gumnut Dress Givaway winner number #2