Macrame Plant Hanger Goodness

Modern Macrame Plant Hanger

Oh my goodness.  I LOVE this latest project.  

This has been on my 'To Do' list for months now and I kept putting it off because it just seemed like such a big project, but funnily enough, when I actually got down to doing it it was done in an afternoon!  

It was probably a bit ridiculous to choose such a large project as my introduction to Macrame but I just fell in love with the design of it and have been looking for something to break up this massive expanse of blank wall in our new extension (which has 4.5 metre high ceilings!).  The pattern was an Etsy purchase from Boho Journal Shop and it was great.  Easy enough for a complete beginner to follow and I think the end result is just beautiful!  Besides, I've never been one to do things by halves....

Modern Macrame Plant Hanger / Wall Hanging

I can totally see myself getting addicted to making variations on this theme.  I need to build up my knotting repertoire, it so far consists of square knots in various forms and that's about it. Luckily I bought about 250 metres of rope so I should have enough to experiment with!

Sorry to those who know me - you're all getting a 70's Macrame plant hanger for Christmas, if anyone objects you'd better let me know in advance! 

Modern Macrame Plant Hanger / Wall Hanging

English Paper Piecing - A Scrap Busting TSNEM Project

English Paper Piecing - A scrap busting Try Something New Every Month Project

Ok, so it might be halfway through June but here is my May 'Try Something New Every Month' project.  The theme for this month was 'handwork' and in a rare fit of compliance I decided to go with it and have a go at English Paper Piecing.  

I'm going to blame my tardiness on a combination of technical issues (my cloud is full which apparently doesn't make it rain but does make it hard to get photos off your phone and onto your computer.... I know - Yawn! Sorry!...), the glacially slow progress of my hand sewing and the fact that I had lots of other (frankly more interesting and instantly gratifying) projects to sew.

English Paper Piecing - A scrap busting Try Something New Every Month Project

This was, first and foremost, a scrap busting project.  I seem to be incapable of throwing away even small scraps fabric and thought that this would be a great way to use some of them up.  I genuinely thought that I was starting small with this project - it was the first time that I'd tried English Paper Piecing so it made sense to keep it small and simple right?  The theory was good, but unfortunately it takes a LOT of 1" hexies to make even a rather small piece - I mean just LOOK at that pile of cardboard templates! 

English Paper Piecing - A scrap busting Try Something New Every Month Project

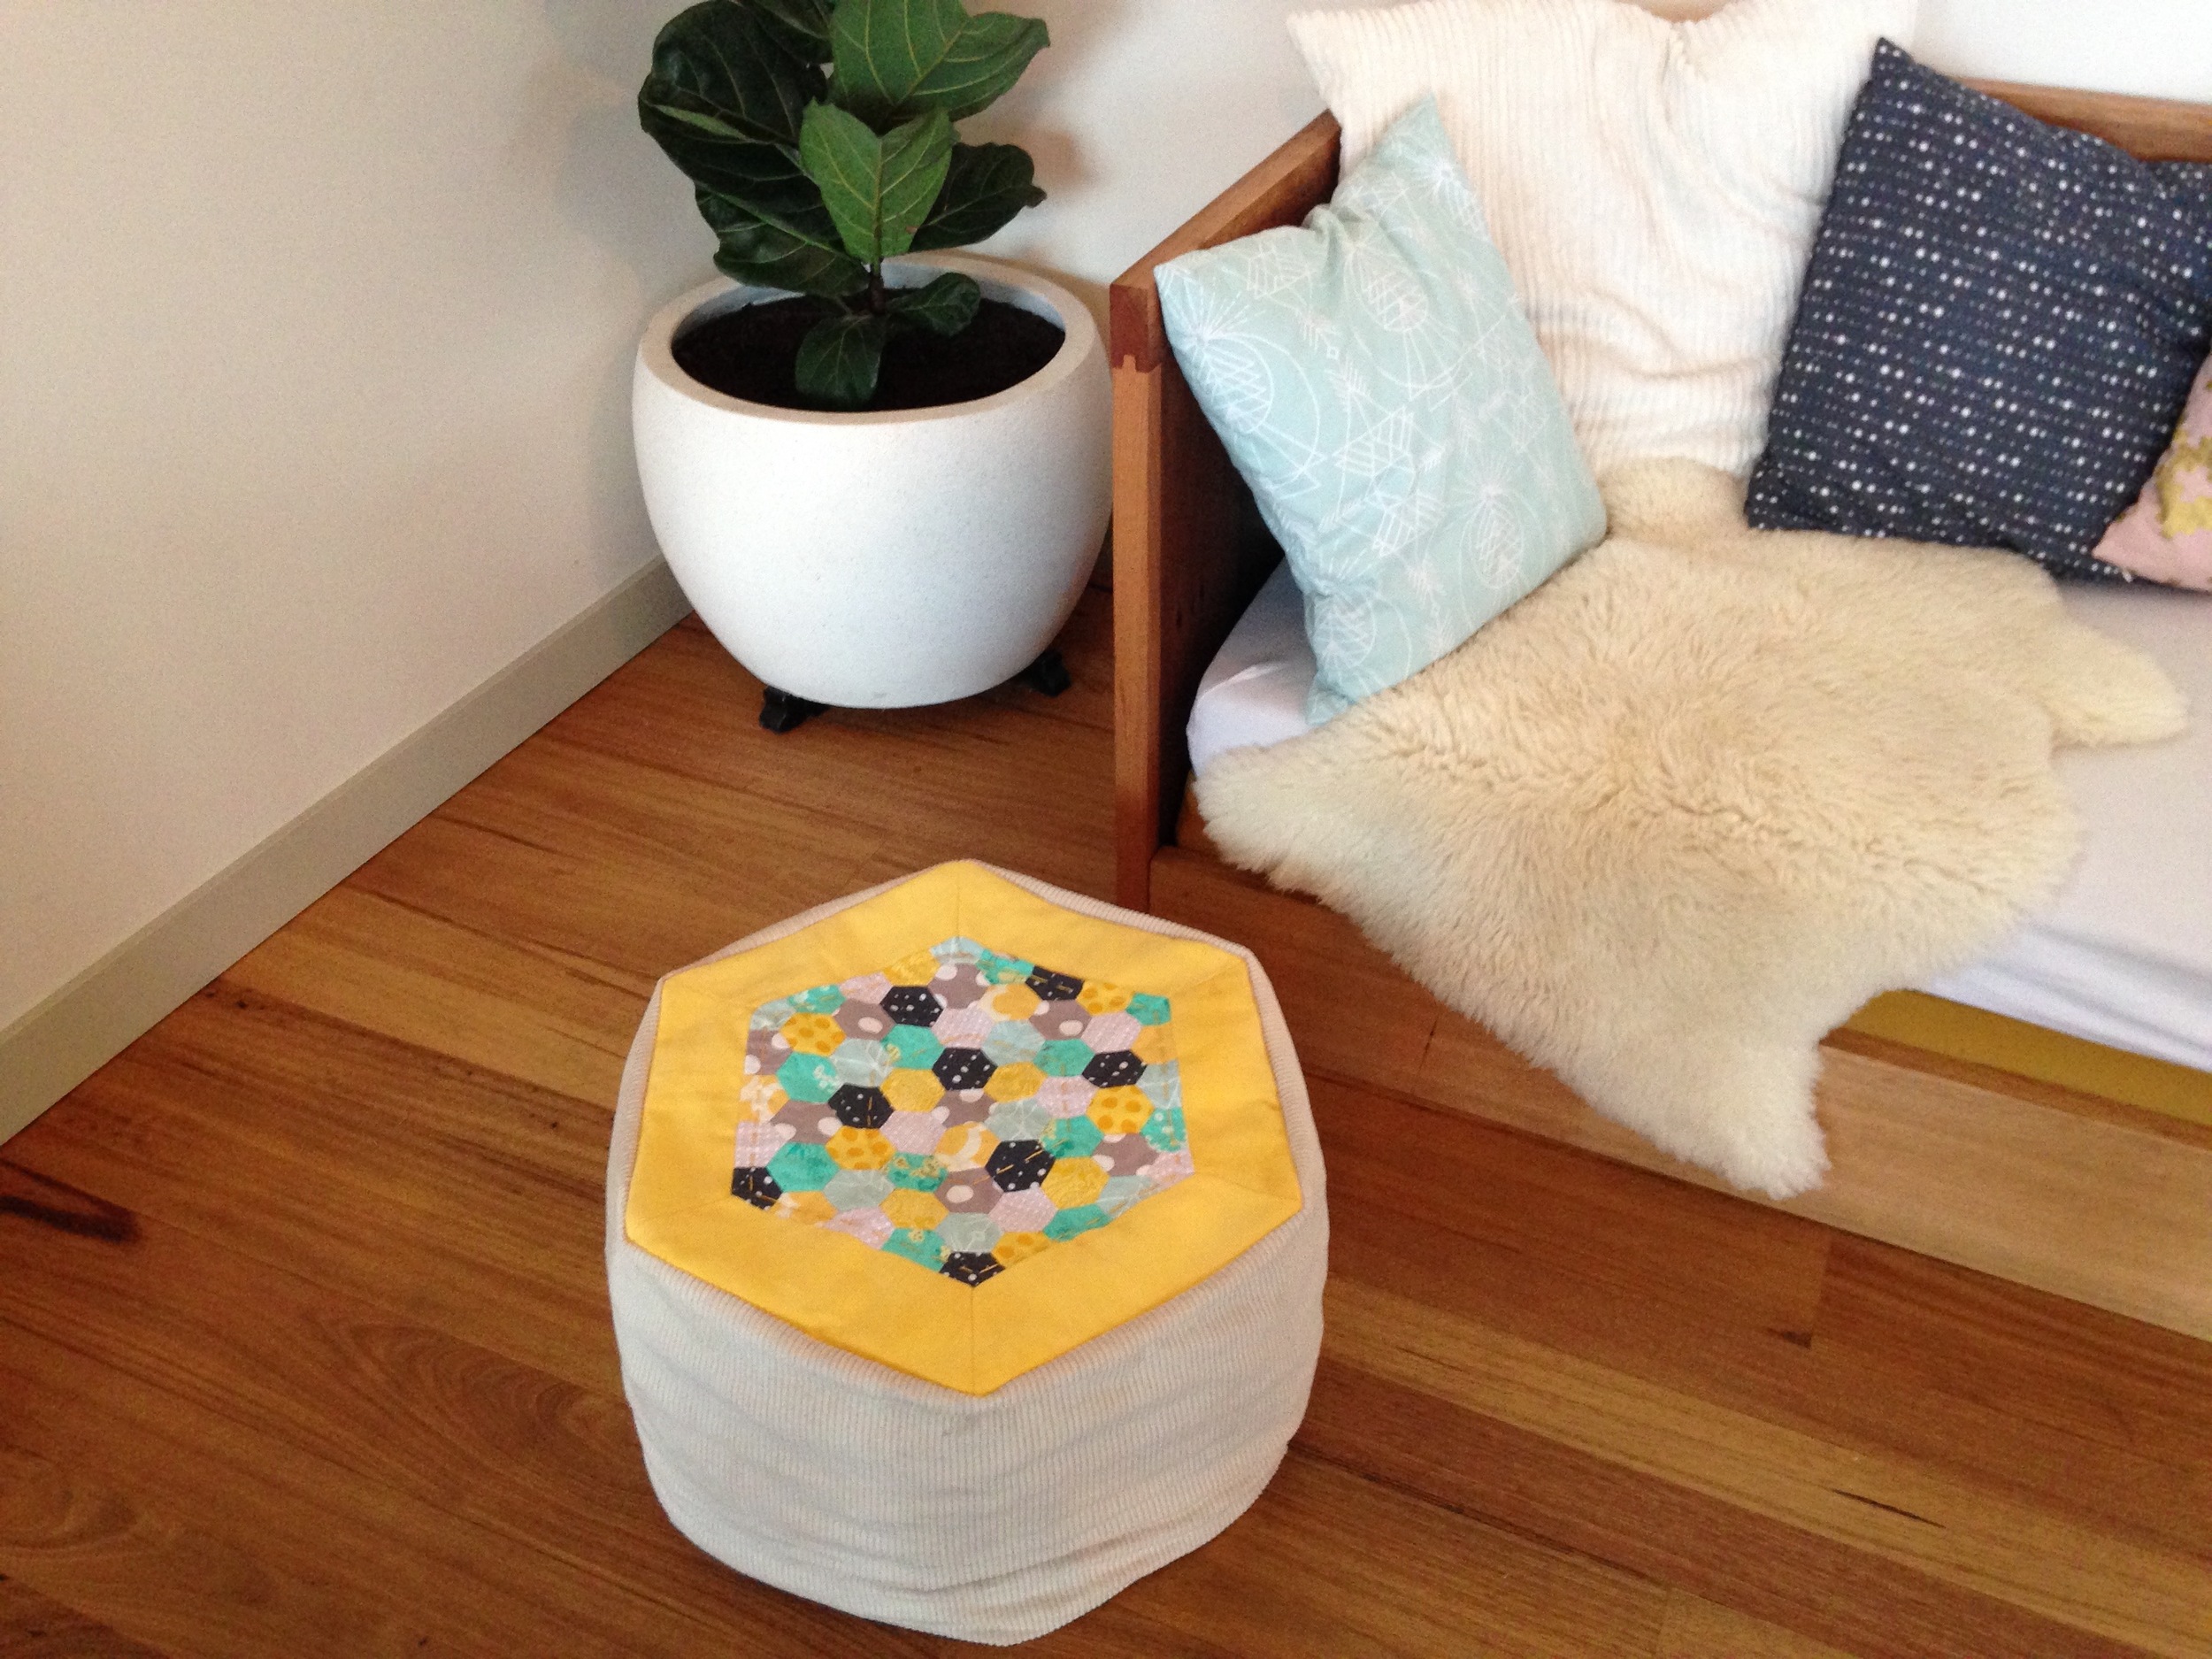
I was pretty pleased with my final patchwork, but it still wasn't nearly big enough and I didn't fancy taking the rest of the year to complete this so I went and sewed a big yellow boarder around it before hand quilting the top sewing it into a footstool. 

English Paper Piecing - A scrap busting Try Something New Every Month Project

Just don't look too closely at my hexies please or you'll see the wonky joins and gaps.  You know how you hear quilting people say 'nice points!'? No one is ever going to say that to me.....

English Paper Piecing - A scrap busting Try Something New Every Month Project

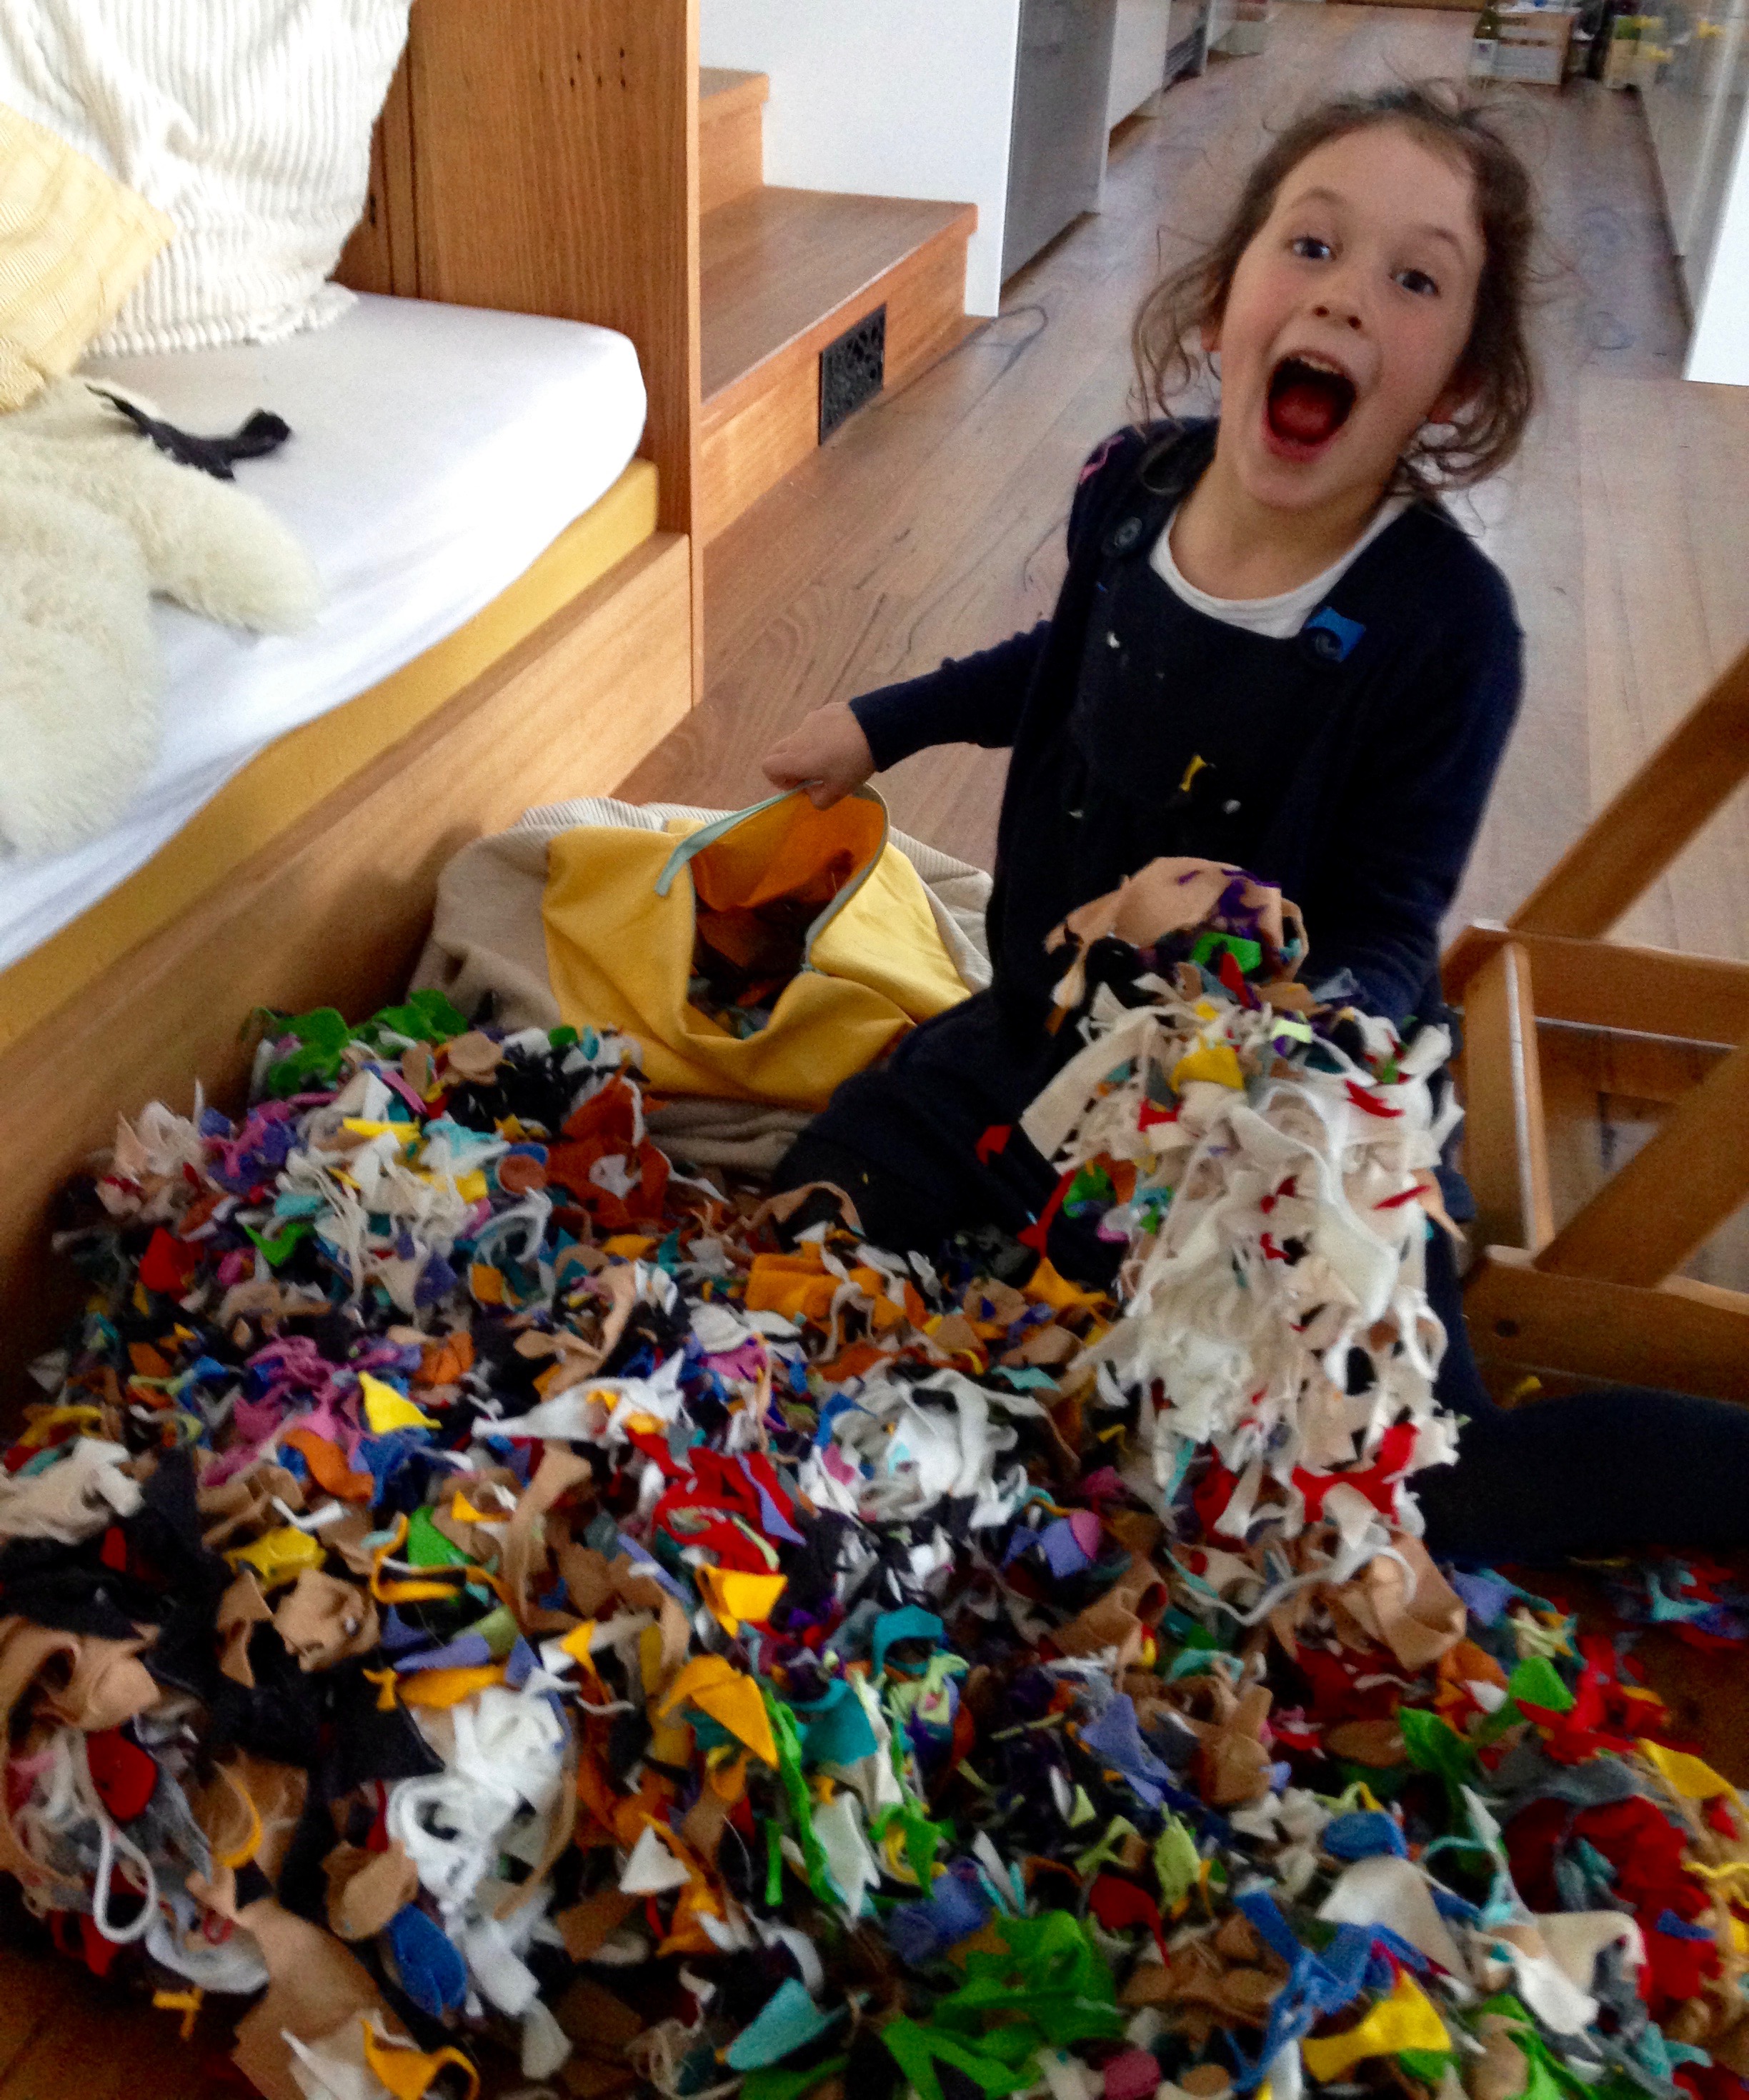
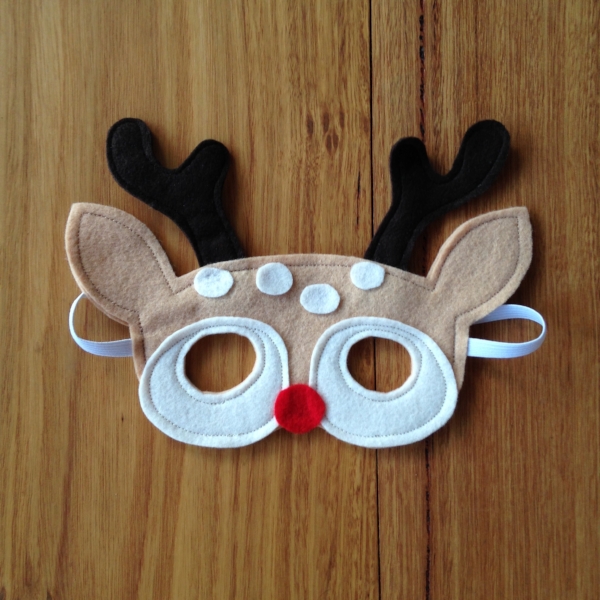
Once I had my footstool cover it needed stuffing (and this is the really brilliant scrap busting part) it's also the part where you begin to think that I might actually be crazy.. BUT.  If you've been here before, or follow me on Instagram, you'll know that I spend a lot of my 'free' time sewing up felt dress up masks which I sell on Etsy and at local handmade markets in Melbourne.  Anyway, the point is that cutting out all of those felt masks results in lots of tiny scraps which I don't seem to be able to throw away.  I'm honestly not sure why I didn't just put them in the bin except for that I had vague, half-formed ideas about using them to stuff a pillow or something at some point.  So; this is what a year's worth of scraps looks like (and how a 5 year old looks when you let her tip them all over the dining room floor and roll around in them):

https://www.etsy.com/au/shop/Stitchandwillow?ref=hdr_shop_menu&section_id=16893907

And this is how my paper pieced, felt scrap filled, labour of love footstool looks when finished. I'll admit to feeling a little smug, If only because I actually finished the thing!  I'm not sure I'll do any more English Paper Piecing, at least not in the near future, but despite all my grumbling I did rather enjoy this (possibly because I gave me an excuse to sit on the sofa and plow through another season of Mad Men!)

English Paper Piecing - A scrap busting Try Something New Every Month Project

Right.  Time to get cracking with June's TSNEM project!

You May Also Like...

Handmade Linen Bedsheets Tutorial - Part 1: Duvet Cover

Handmade linen bed sheets tutorial

Linen sheets. Everywhere I look recently I have been seeing linen bed sheets.  And they just look so wonderful, so soft, so cozy, that I have been craving a set for months.  But at over $400 a set it's just not going to happen.  So; when I saw this gorgeous grey linen at my local designer clearance fabric store for $7 a metre I went a little crazy and bought 10 metres of the stuff.  

Sheets and duvet covers are basically just 2 squares sewn together right? How hard could it be? Well, the huge pieces of fabric are pretty tricky to handle but really it turned out to be not so difficult at all.  The main problem I found was that no fabric will be wide enough to enable you to use a single width which means that you always have to sew 2 or more pieces together and with a duvet cover that's supposed to be super cozy, you don't really want seams where you're going to feel them.

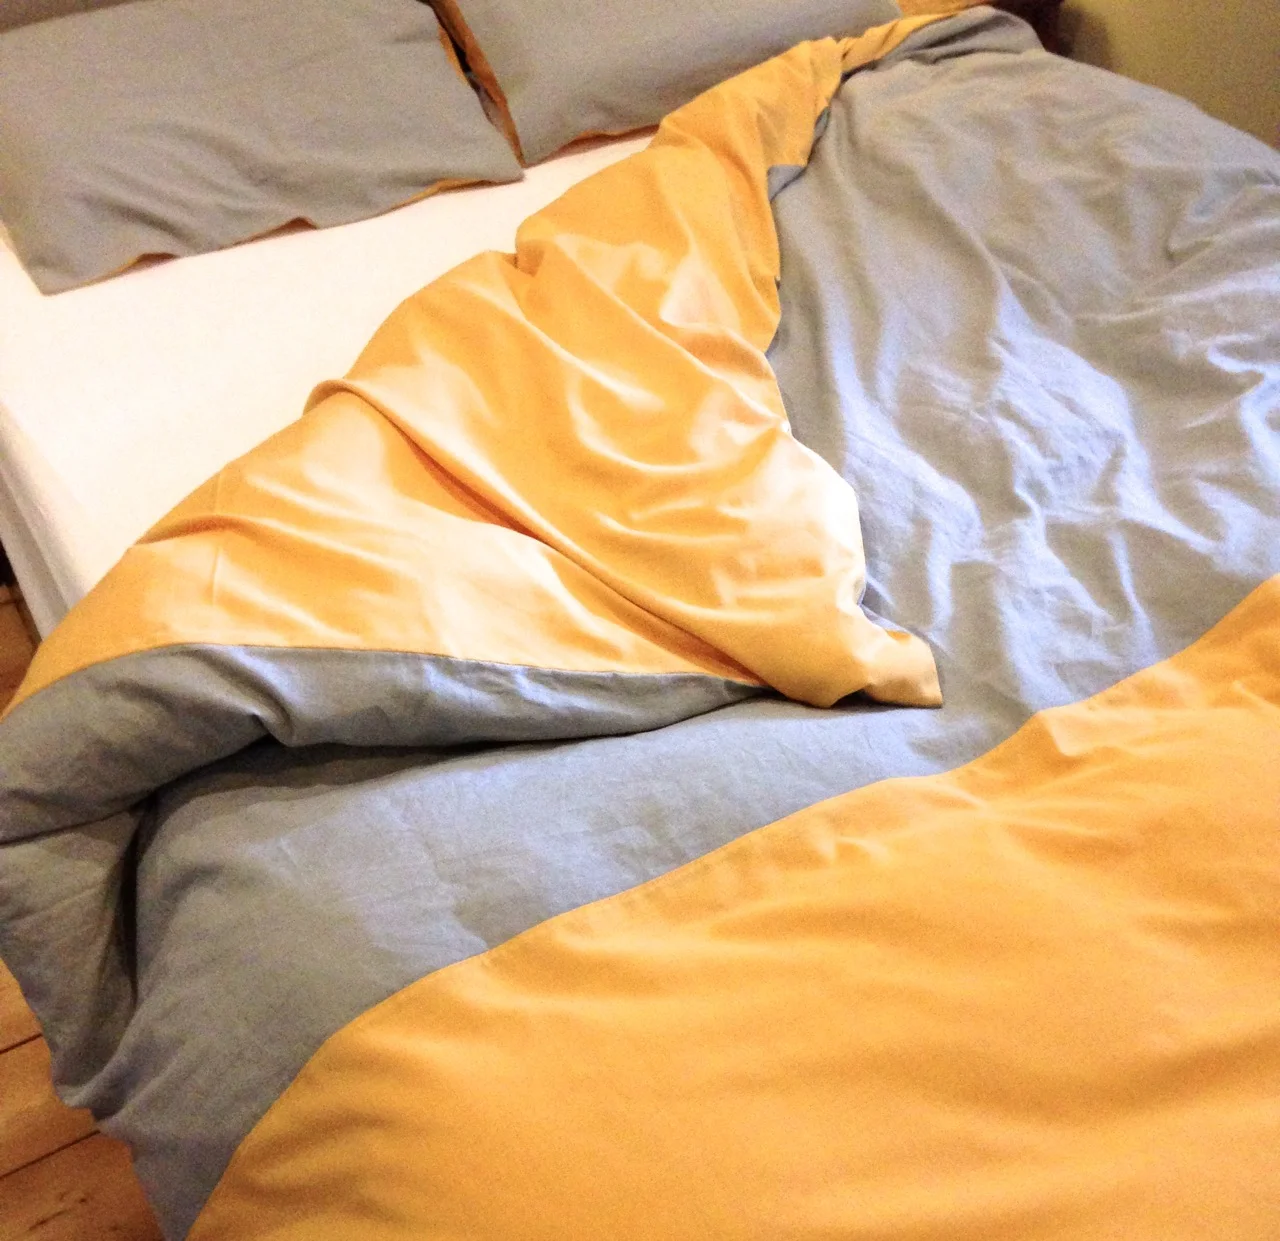
This was the solution that I came up with - a large top section with a smaller contrast piece at the foot of the bed.  Linen is great in that you can use it in either orientation which meant that I didn't have to have to sew any vertical seams which might be uncomfortable.

I sewed the duvet cover with french seams, which I haven't done before.  They're lovely, no doubt, but goodness me they didn't half keep on freaking me out.  Quite literally every 20 minutes I would have a minor heart attack thinking that I'd done it wrong!  Because of the amount of fabric involved this was probably the most expensive thing I've ever sewn - hence the jumpiness I suppose!  

I was about to say that I'm not entirely sure the french seams were worth the extra stress since I'm never really going to see the inside of the duvet cover; but since I was moaning only a few days ago about how much I hate changing bed covers and how I always end up inside them trying to figure out what on earth has gone wrong, perhaps that isn't true!  Still, I can confidently say that no-one ELSE will end up inside my duvet cover and therefore the french-ness or lack thereof of my seams can remain entirely up to me!  Suffice to say that I think next time I wouldn't bother.

Still, all's well that end's well and I'm so pleased with how this came out.  I quite literally cannot wait to jump into bed tonight!

Handmade linen bed sheets tutorial

If you'd like to sew your own, here is how I did it (in a nutshell).  Instructions include sewing a french seam to join the two front and the two back pieces together, but regular seams everywhere else for ease.


You will need:  (For 1 duvet cover and 2 pillow cases)

6 (or 7 for a king) x 20mm (approx) buttons

430cm (Queen) / 470cm (King) each of 2 different coloured linens (150cm wide)

Cut each piece in half to give two 215cm (235cm) long pieces of each linen.

Take one of these pieces and cut it in half along the length to give two 75cm x 215cm (or 235cm) strips of fabric.  Set one of these aside, we will use it later to make the pillow cases.  Repeat for the contrasting fabric.


Sew the Duvet:

Align the long edges of one full width piece and one contrasting half width piece.  Place WRONG sides together and join, sewing with a 1cm seam.  

Trim the seam to 5mm then press open.  Fold the fabric along the join so that the seam is hidden between the two layers of fabric and the RIGHT sides are now together. Press.  

Sew along the joined edge, sewing a presser foot's width (7-8mm) from the edge and so enclosing the raw edges of the join in your new seam.

NOTE: Unless you are sewing with printed linen, you very likely don't have a right and a wrong side to your fabric (I think this is one of the reasons that I found it all so confusing!) Just remember that once you have sewn your french seams, you WILL have a right and a wrong side. (the wrong side is the one where you can see the french seam.)

Press the seam allowances towards the foot of the duvet (towards the shorter strip of contrasting fabric) and then, from the right side, topstitch along the seam - sewing through the hem, a few mm from the join.

Repeat to join the two back pieces of the duvet cover.

Find a large expanse of floor and lay out your duvet front and back pieces on top of one another, with RIGHT sides together.  Pin along the top edge and both sides.  Sew these seams with a 1.5cm seam. Finish seams with an overlocker or a zigzag stitch.

Hem the duvet by pressing 1cm to the wrong side right around the open mouth at the base of the duvet.  Press another 2cm to the wrong side and pin in place.  Sew right around the base of the duvet.

Place a button every 30cm along the hem to close the duvet cover.  (If you have sewn a king size duvet cover, place the buttons every 30cm, starting and ending 10cm from each edge.)

Handmade linen bed sheets tutorial

Next up - Part 2: Sewing the pillow cases.

You May Also Like...

A Problem.. and a Solution

IMG_1149.jpg

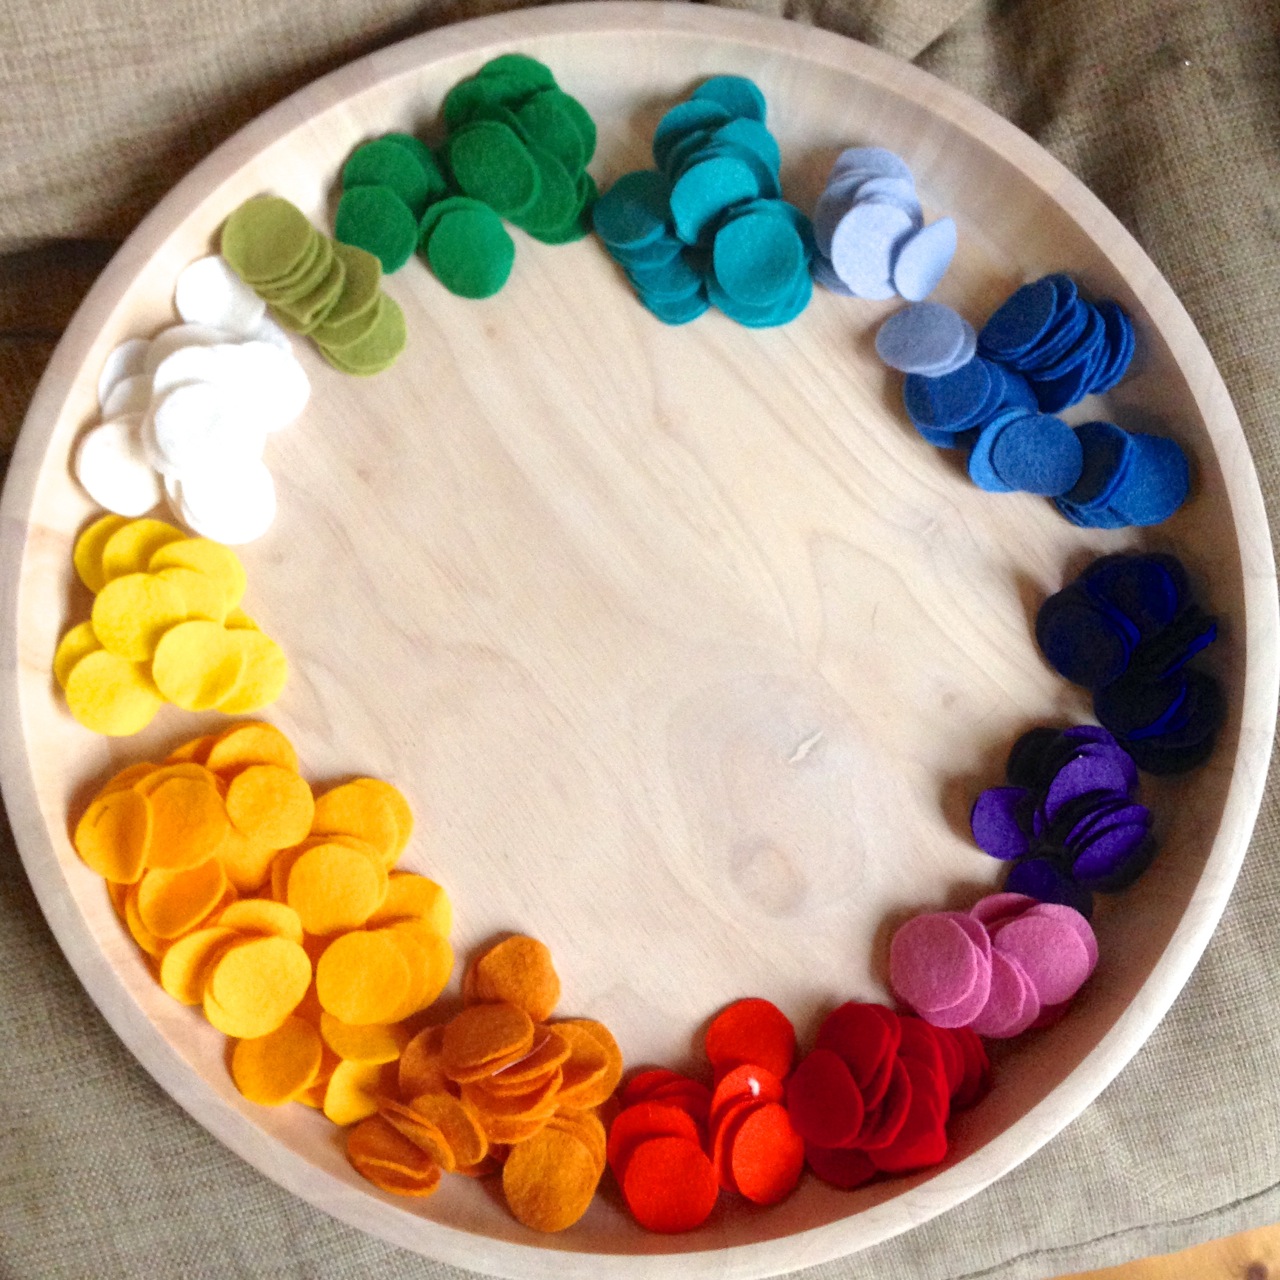
So, this is my problem.  You all know the score.  You make dozens of felt masks and end up with a massive pile of offcuts that are too small to do anything with because you're incapable of throwing stuff away. Right?  No? Just me then… Oh well, that's fine because I've come up with a very nifty and frankly awesome way of using them up!

felt confetti

Cut them into small circles and use them to make gorgeous confetti garlands!  I know.. I'm a genius! And so modest too… *ahem!

Anyway; To celebrate this wonderful discovery and all of the new masks in my Etsy store, I'm going to give away one of these fantastic Rainbow Confetti Garlands! All you have to do is share my page and sign up for the Willow and Stitch newsletter (see sidebar).  The winner will be selected on Sunday 8th February. I promise not to bombard you with emails and will only send out a newsletter when something really exciting is happening (I'm anticipating every couple of months). Plus, if I start to bore you then you can, of course, unsubscribe at any time.

The Garlands measure approximately 2.5 metres in length and have extra long cotton at each end for fastening.  They make beautiful nursery decorations or hang them over a window, mirror or mantle piece, or anywhere really that could do with a splash of fun and colour.  If you don't happen to win this one then they are for sale in my Etsy shop for $19.95 AUD.

Link to my Etsy Store here and in the sidebar.

Thanks for visiting!

rainbow confetti garland